Weekly Update - 22 Sept 2024
No preface today. Let’s move on to the update.
Cyber Burger
Cyber Burger now has sound!
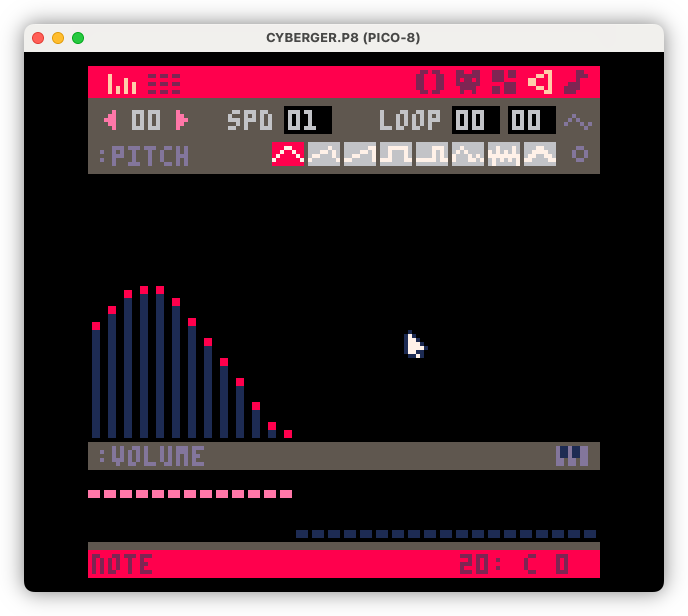
I started added some basic sound effects to the laser and the items flying across the screen. They may change, depending on how I find them after a while, but it’s a start. I do like how Pico-8 makes these easy to make: select a waveform, then just draw out the pitch and volume graphically:
I also improved how items are spawned. Instead of the item types being completely random, they’re now taken from a list, which gets refilled and shuffled once it’s empty. This smoothes out the chance of seeing a particular item — no more waiting around for a bun bottoms to start your burger — while still making things random enough to be fun. The item types are distributed evenly, so every type will show up once per cycle. Maybe I’ll change this, but probably not, as it seems to be working reasonably well at the moment.
The Y location is now quantised a little so that items don’t completely overlap each other by a pixel or two. They can still be located on exactly the same Y position which… is not great — I may need to take a look at that. But the slice spacing between each item looks good. Also, items now spawn in from the left as well as the right.
Lastly, I changed how demerits work. The previous version was not adding any when the player made a mistake. This made them pretty useless, and the game felt quite easy. So now, whenever the player catches an item in the basket that they weren’t suppose to, they get a demerit. If their burger gets too large, then get 2 demerits. To balance things out, the player now has 6 demerit points instead of 3, and every completed burger would remove one demerit until the player has zero again. I think this will require some more rebalancing, but it makes play a little more interesting.
Not sure what I’ll work on next. I’ll need to finish (or redo) the sounds, and then come up with some more tasks to do. I’m thinking either working on the difficulty curve, making things harder as the game progresses; adding power-ups and power-downs; or working on the start screen and menu. More on either of these in the future.
Blogging Tool
For my “extracurricular” activity this week, I spend some more time on Blogging Tool. I added the notion of jobs, which are essentially background tasks for long running processes. These can be monitored from within the Jobs section, which is accessible from the main nav:
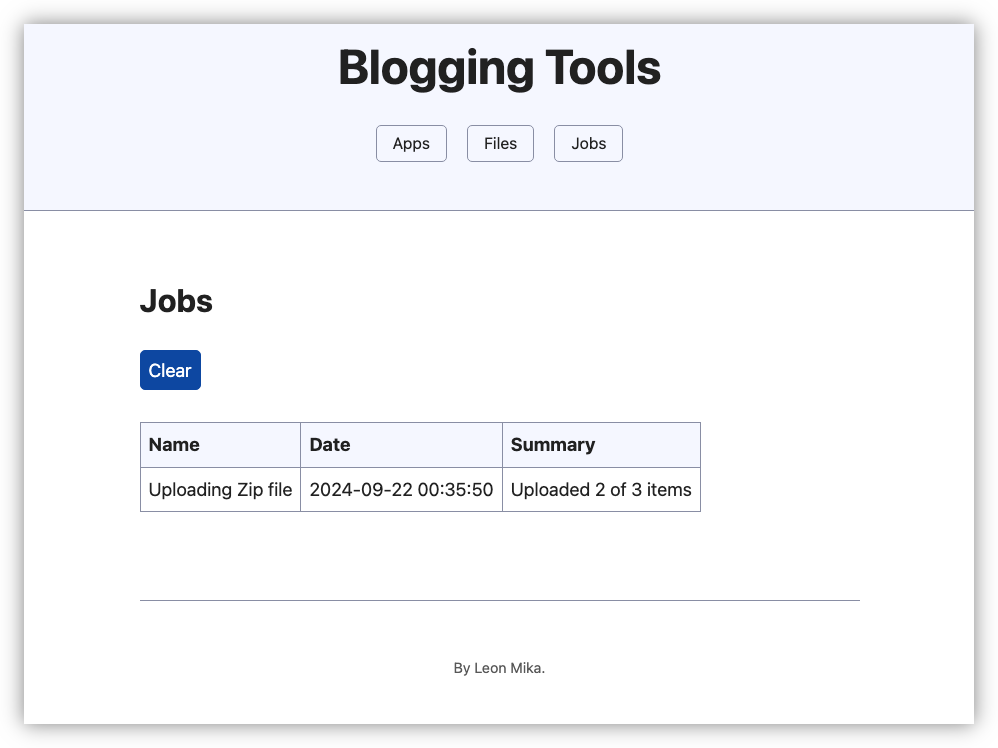
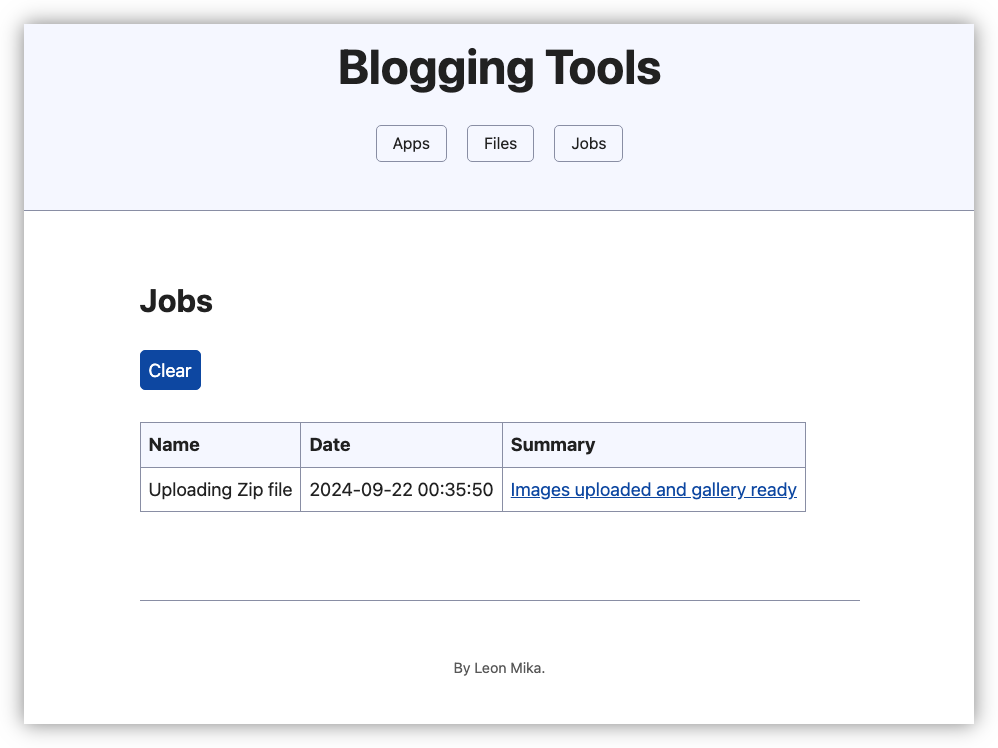
I’m recording jobs in the Sqlite3 database, including the ones that are currently running. Jobs have the ability to report progress by updating the “summary” message, which would update the job record in the database. I’m generally not too keen on having the database act as storage for something that could be updated quite frequently, but the alternative was keeping this progress information in memory or deploying something like Redis, both I felt were worse. Besides, I’m curious as to how well Sqlite3 handles status updates from a running job like this. I’m not expecting jobs to be updating there status too rapidly anyway, so it should be fine.
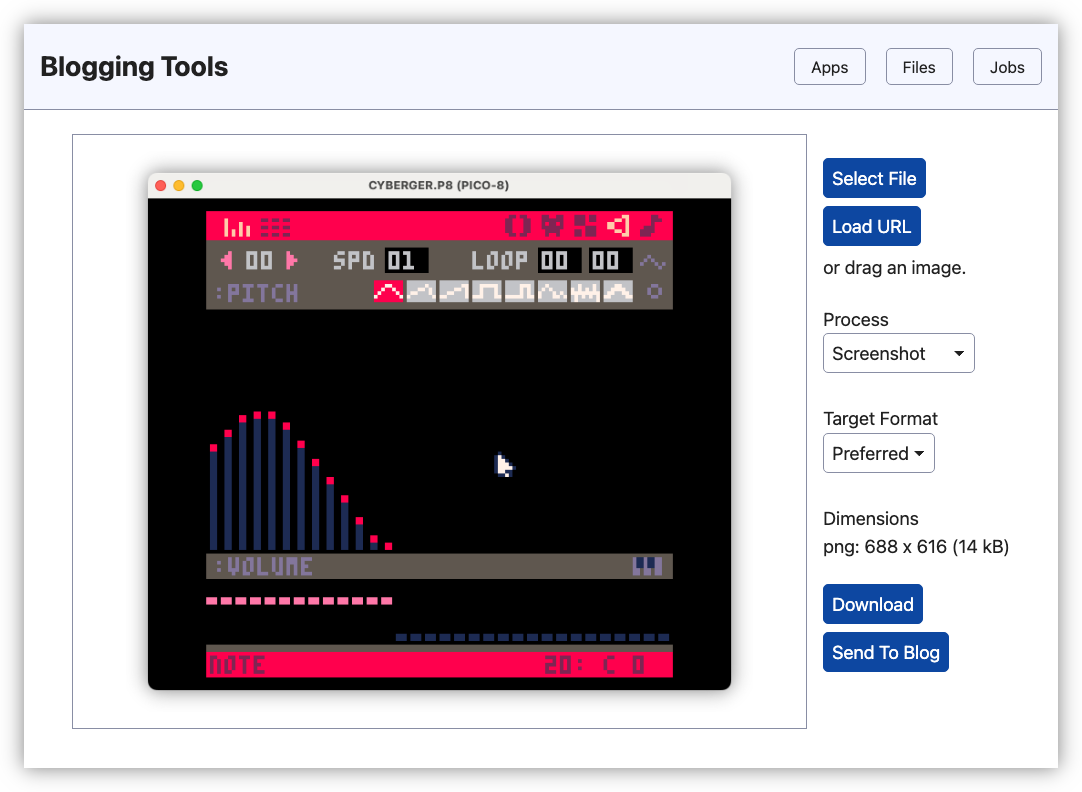
The Image App got a few changes as well. It’s now possible to import an image from a URL (this is done within the browser so is subject to all the cross-origin rules that entails). I added this just so that I can touch up my own images that I already uploaded to Micro.blog, without having to download the image first. Speaking of, there’s now an option to send a processed image to a blog directly from the app, saving yet another download step. I’ve got this configured to Micro.blog but it uses Micropub to do this so it could, in theory, be any blogging system that supports that API.
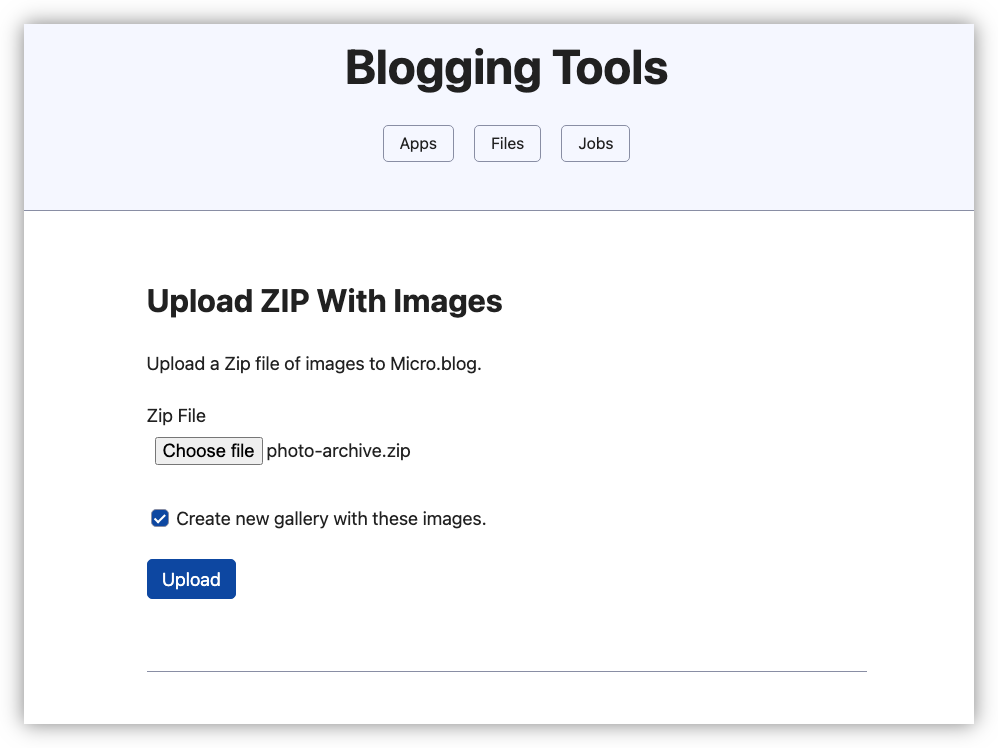
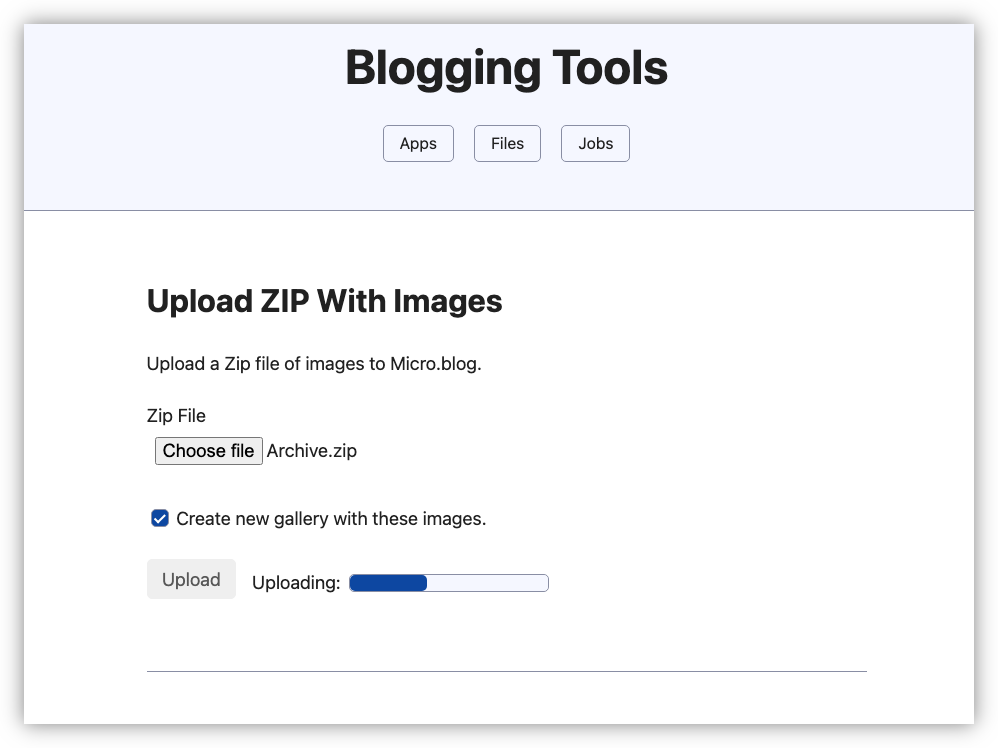
The last thing that was added is the ability to upload a Zip file of images to a Micropub endpoint, and start creating a gallery. This has been a feature that I wanted for a while. It always took me ages to prepare a photo gallery in Micro.blog. I know there are apps which help here, but they’re for iOS and just don’t fit my workflow. Now, whenever I want to add a photo gallery, I can select the images from Google photos, download them as a Zip file, then directly upload them to Micro.blog in one hit. The upload can take as long as it needs to (this uses the new jobs system as well), and once they’re done, Blogging Tool will create a gallery for me so I can write the captions. To be able to do this without clicking around as much as I did is rather exciting.
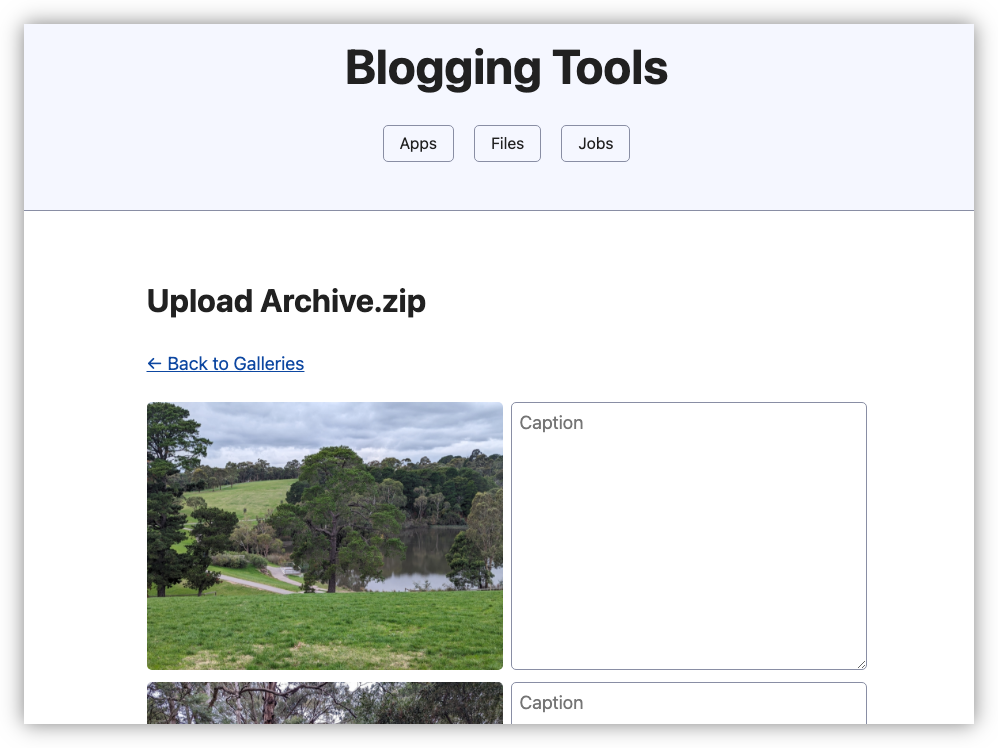
Or at least it will be, when I find out how I can get large uploads working. Uploading a 27 MB Zip file in development was not an issue, but when I deployed it to my Dokku server and try it for real, I kept getting 502 errors. I’m not sure what’s causing these yet: both Nginx and Blogging Tool have been configured to accept files much larger than this, and there are no logs in either to suggest a problem. There might be a timeout somewhere that needs to be raised. In any case, hopefully this is the last hurdle I need to clear to get this working. Anyway, that’s all for this week. Oh, actually, one more thing: while working on the UI for the Upload Zip screen, I found that I never got around to changing the instructions on the Transcode Audio screen after copying and pasting the HTML from the New Gallery screen:
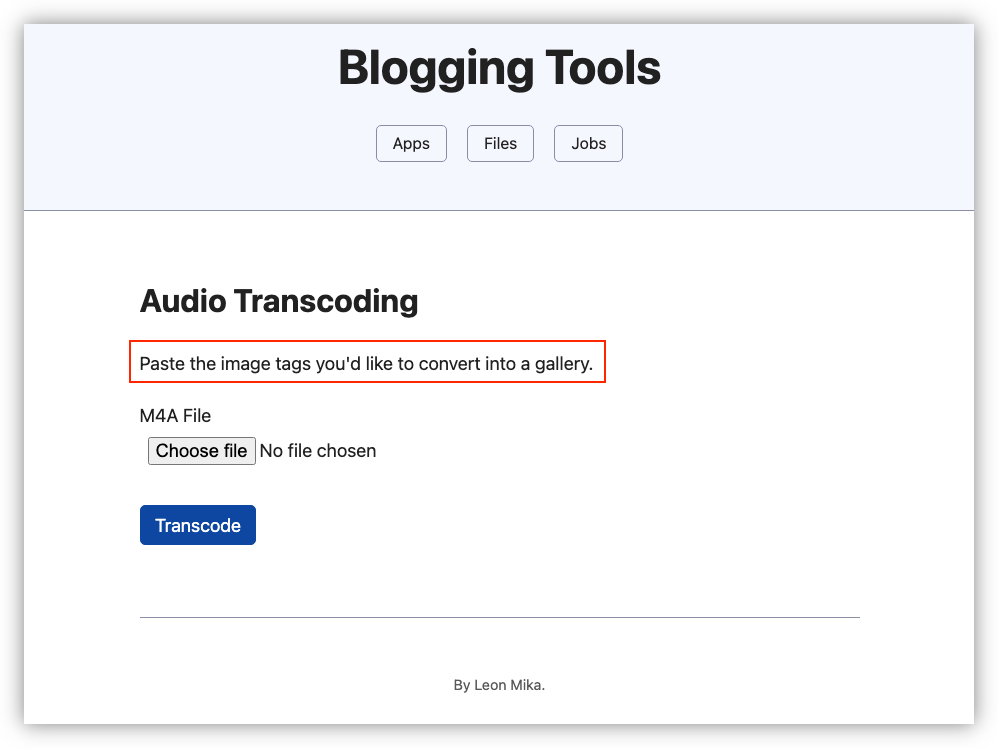
Just goes to show how little I pay attention to this copy, even while working on my own apps. 😛