
Trying OpenAI Codex to Produce Freelens Logo Creator
Tried a bit of vibe coding using OpenAI Codex yesterday.
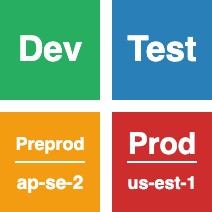
I needed something to produce nice logos for Freelens so I can tell each cluster apart. The default avatar for Freelens is an abbreviation of the cluster name set atop a random background colour, which doesn’t do me a lot of good as the cluster names I work with are all similar, and would produce the same abbreviations. Furthermore, Freelens doesn’t have a way to change these default avatars. But it does have a way to upload new avatars as an image.
This was a perfect candidate for trying out OpenAI Codex. A use-case that I needed but was not important nor interesting enough for me to build manually. I mean, knowing me, I probably would’ve built it, but it wouldn’t have been good use of my time. So I created a new Github repo, connected it to Codex, and gave it this prompt:
I would like a static web-page, consisting of one HTML file, and one JavaScript file. This is to be vanilla JavaScript that does not require NPM or any external dependencies.
This page is to have a form which accepts the following input:
- A text input with the name “Upper” which accepts a string of any kind.
- A text input with the name “Lower” which accepts a string of any kind.
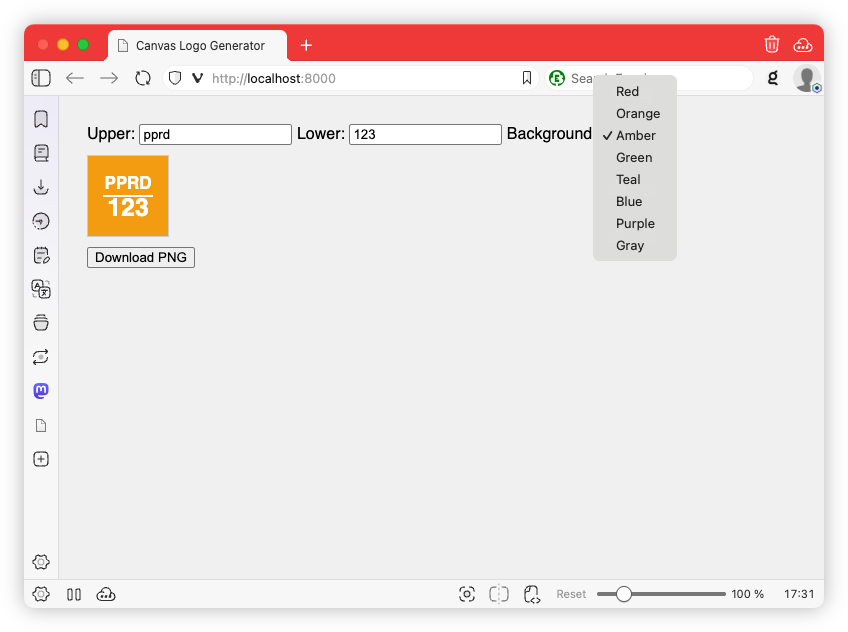
- A selection for background colour. Instead of a colour picker, please allow the user to select one of 8 distinct colour choices. Each one should be distinct enough such that the user is able to distinguish them from each other. They should be of medium darkness, such that if white text were to be display atop of it, the text should be legible; yet not too dark as to be hard to distinguish.
The page is also to have a canvas element, of about 80 x 80 points, which will take input of the form above and do the following:
- Fill the background with the chosen background colour.
- Draw a thin dividing line — no greater than 6 px wide — in white across the width of the canvas.
- Print the form value of “Upper” in uppercase, in a san serif font, centred and above the dividing line in white. The printed text should be large enough to fill most of
- Print the form value of “Lower” in uppercase, in a san serif font, centred and below the dividing line in white.
- Ensure that a suitable margin of 15 pixels padding around the border of the canvas content, and that the printed text and dividing line is not drawn beyond the margin.
The canvas element is to be updated when the form values are changed.
Below the canvas should be a button which should allow the user to download the canvas image as a PNG.
And here’s what it produced:
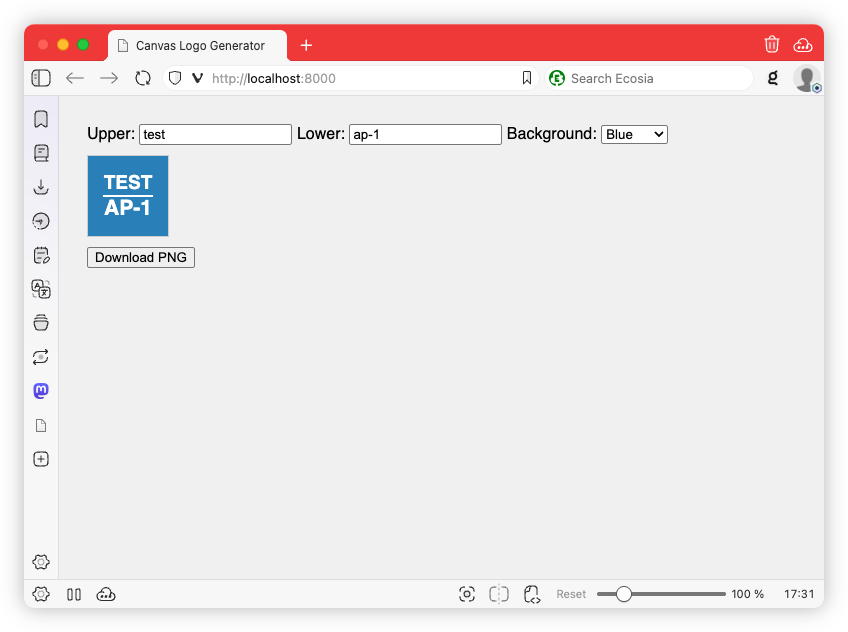
It pretty much did what it said on the tin: when I changed the value of upper or lower, or changed the background colour, the canvas would redraw showing a different preview. Clicking “Download PNG” would allow me to save it as an image.
On the whole, what I received was pretty good. It’s not perfect — there’s no styling; orange is a bit too close to amber, as is green and teal; and the alignment of the bottom line is slightly off. But it’s a pretty decent start.
There were some things I wanted to change, so I went in myself. I found a nice looking stylesheet called Pico CSS, which I’ve applied. Normally I would’ve turned to simple.css, but I’ve been using that a lot and I wanted to try a nice, fresh look. I also adjusted the vertical positioning of the lower row in the icon, added support for single line icons, and adjusted the colours a little.
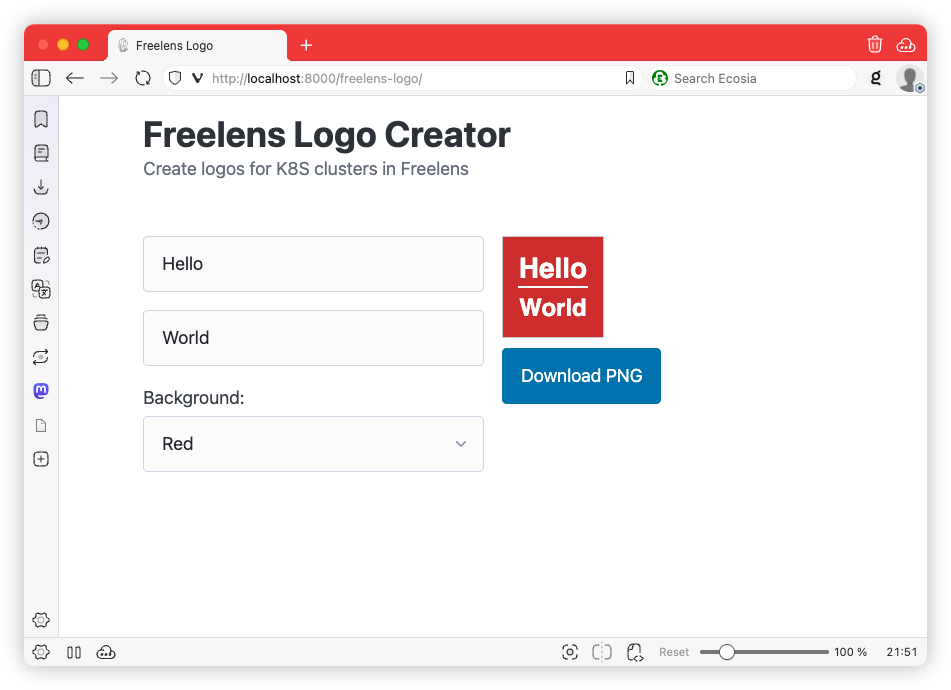
The whole thing looks quite nice now, and I’m quite happy with the icons it produces:
I’m still working out how these AI coding agents will fit into my life. I’ve been using Claude Code occasionally, and that’s been a good fit for projects where I’d prefer to be the driver. But there are occasional things that I’d like to see exist but are a little too trivial to spend the time on. In those cases, I may not have built it at all; or I would’ve built it and then immediately regret spending the time doing so it. And that might be where Codex could be useful: it provides a good starting point, which I can then refine.
If you’re interested in trying this tool out, you can find a link to it here. The source you can find on GitHub.