
Replacing Ear Cups on my Sennheniser HD 280 Pro Headphones
The padding of one of my ear cups of my Sennheniser HD 280 Pro headphones was starting to wear out. I can’t remember how long I’ve had these headphones for but it must have been close to a decade, so to have it last as long as it did is pretty good. I use these headphones pretty much every day, and I have no desire of replacing it. But the old padding had to go, so last week I bought a new set and this morning I set about trying to get it on.
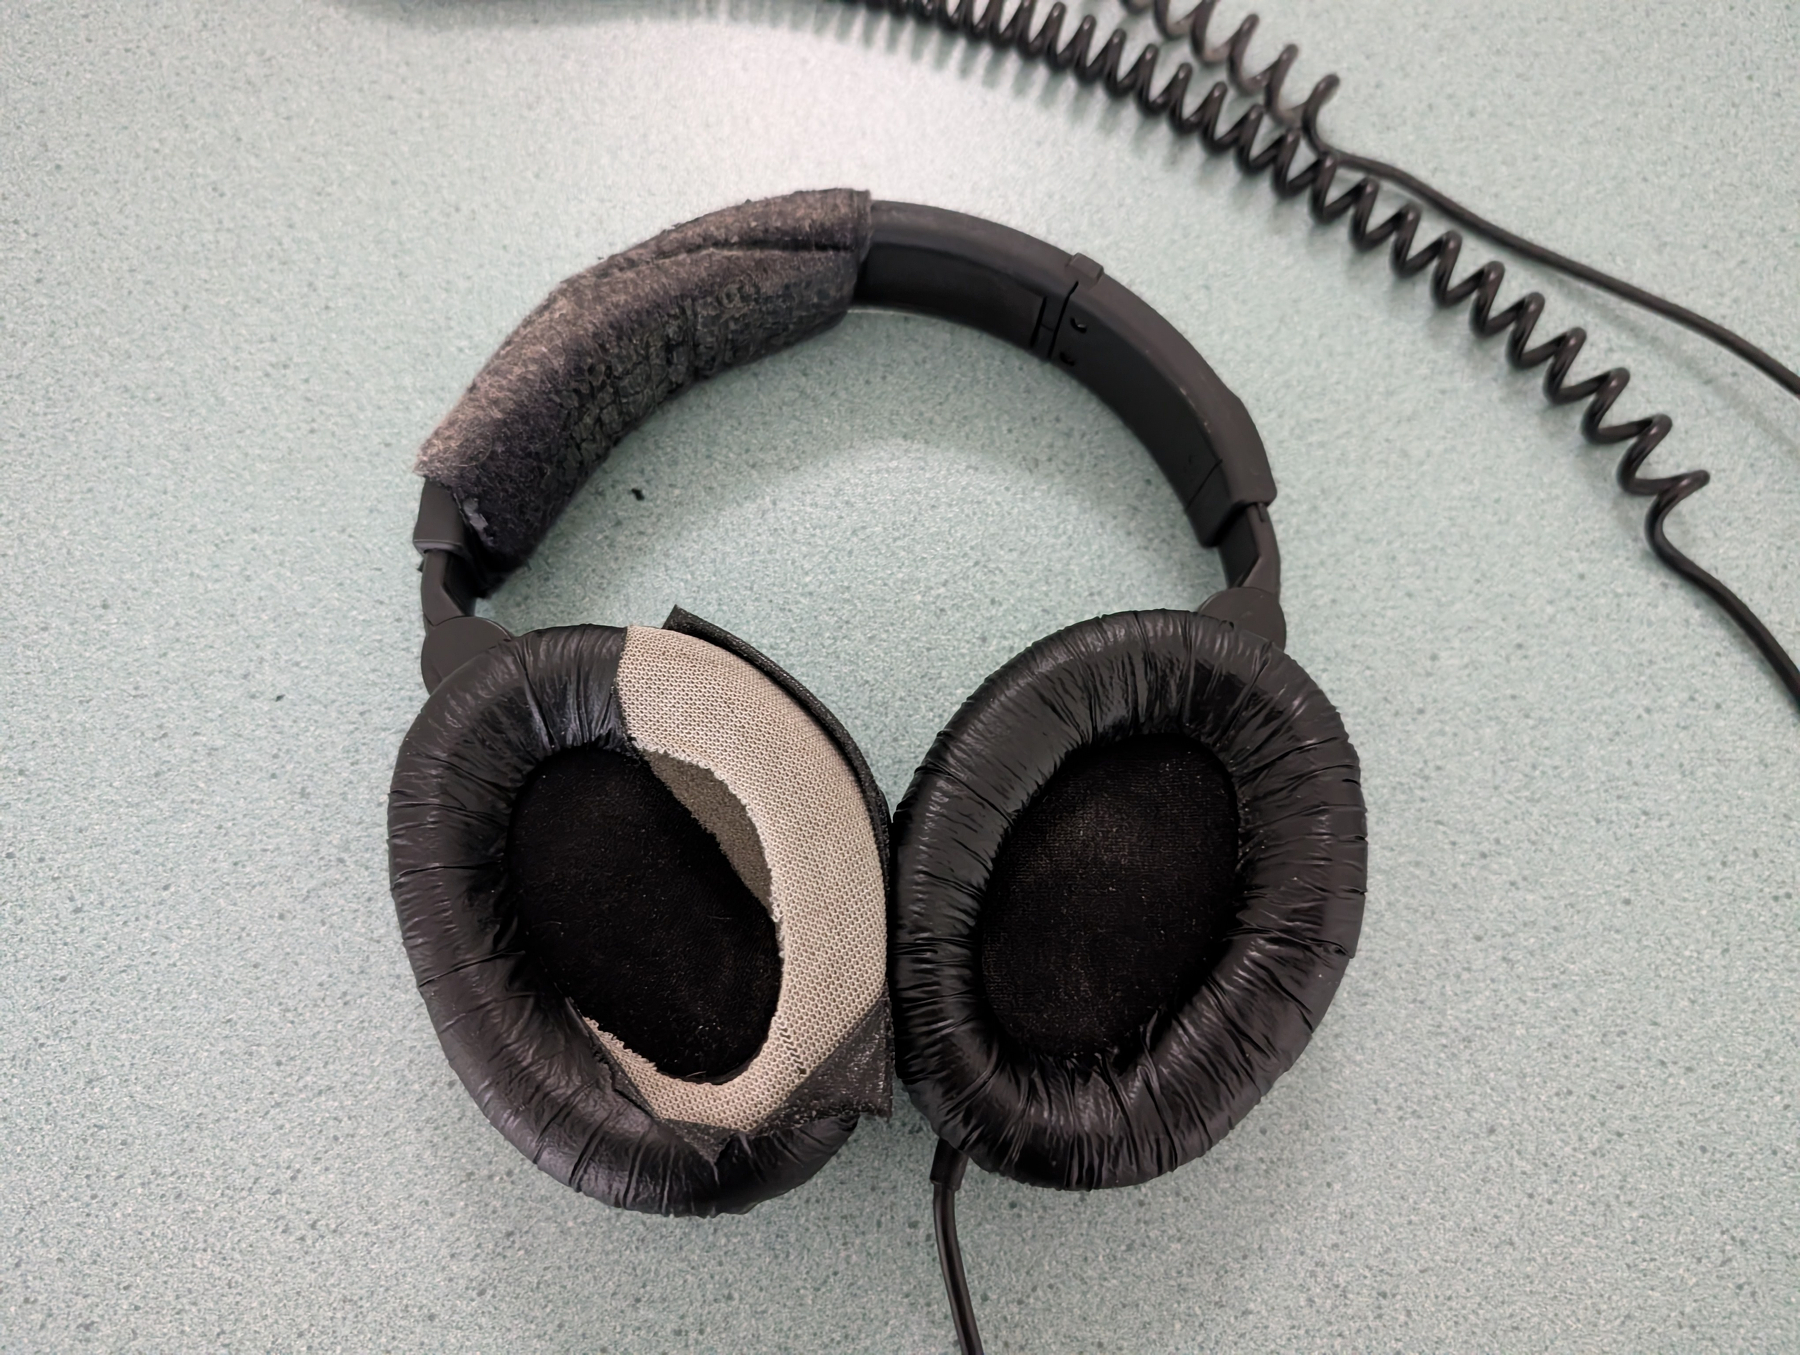
It was not easy. Unlike the Bluetooth headphones I had, the replacement ear pads didn’t have adhesive strips that you could just stick on. Instead, there’s a vinal lip that you have to thread into the gap that rings the ear cup. This YouTube video gives a good explanation of what that entails.
But first you had to get the old ear cup off. This was simply a matter of tearing it off, but just be sure to tear the whole thing off, right down until you get to the actual speaker, which is a flat surface with two screws. If you don’t, you won’t be able to get the replacement padding on. There is almost zero slack with the padding, and if any part of the old padding is still there, it won’t fit. I spent about an hour trying to thread the damn thing into the gap before I realised I had more to remove.
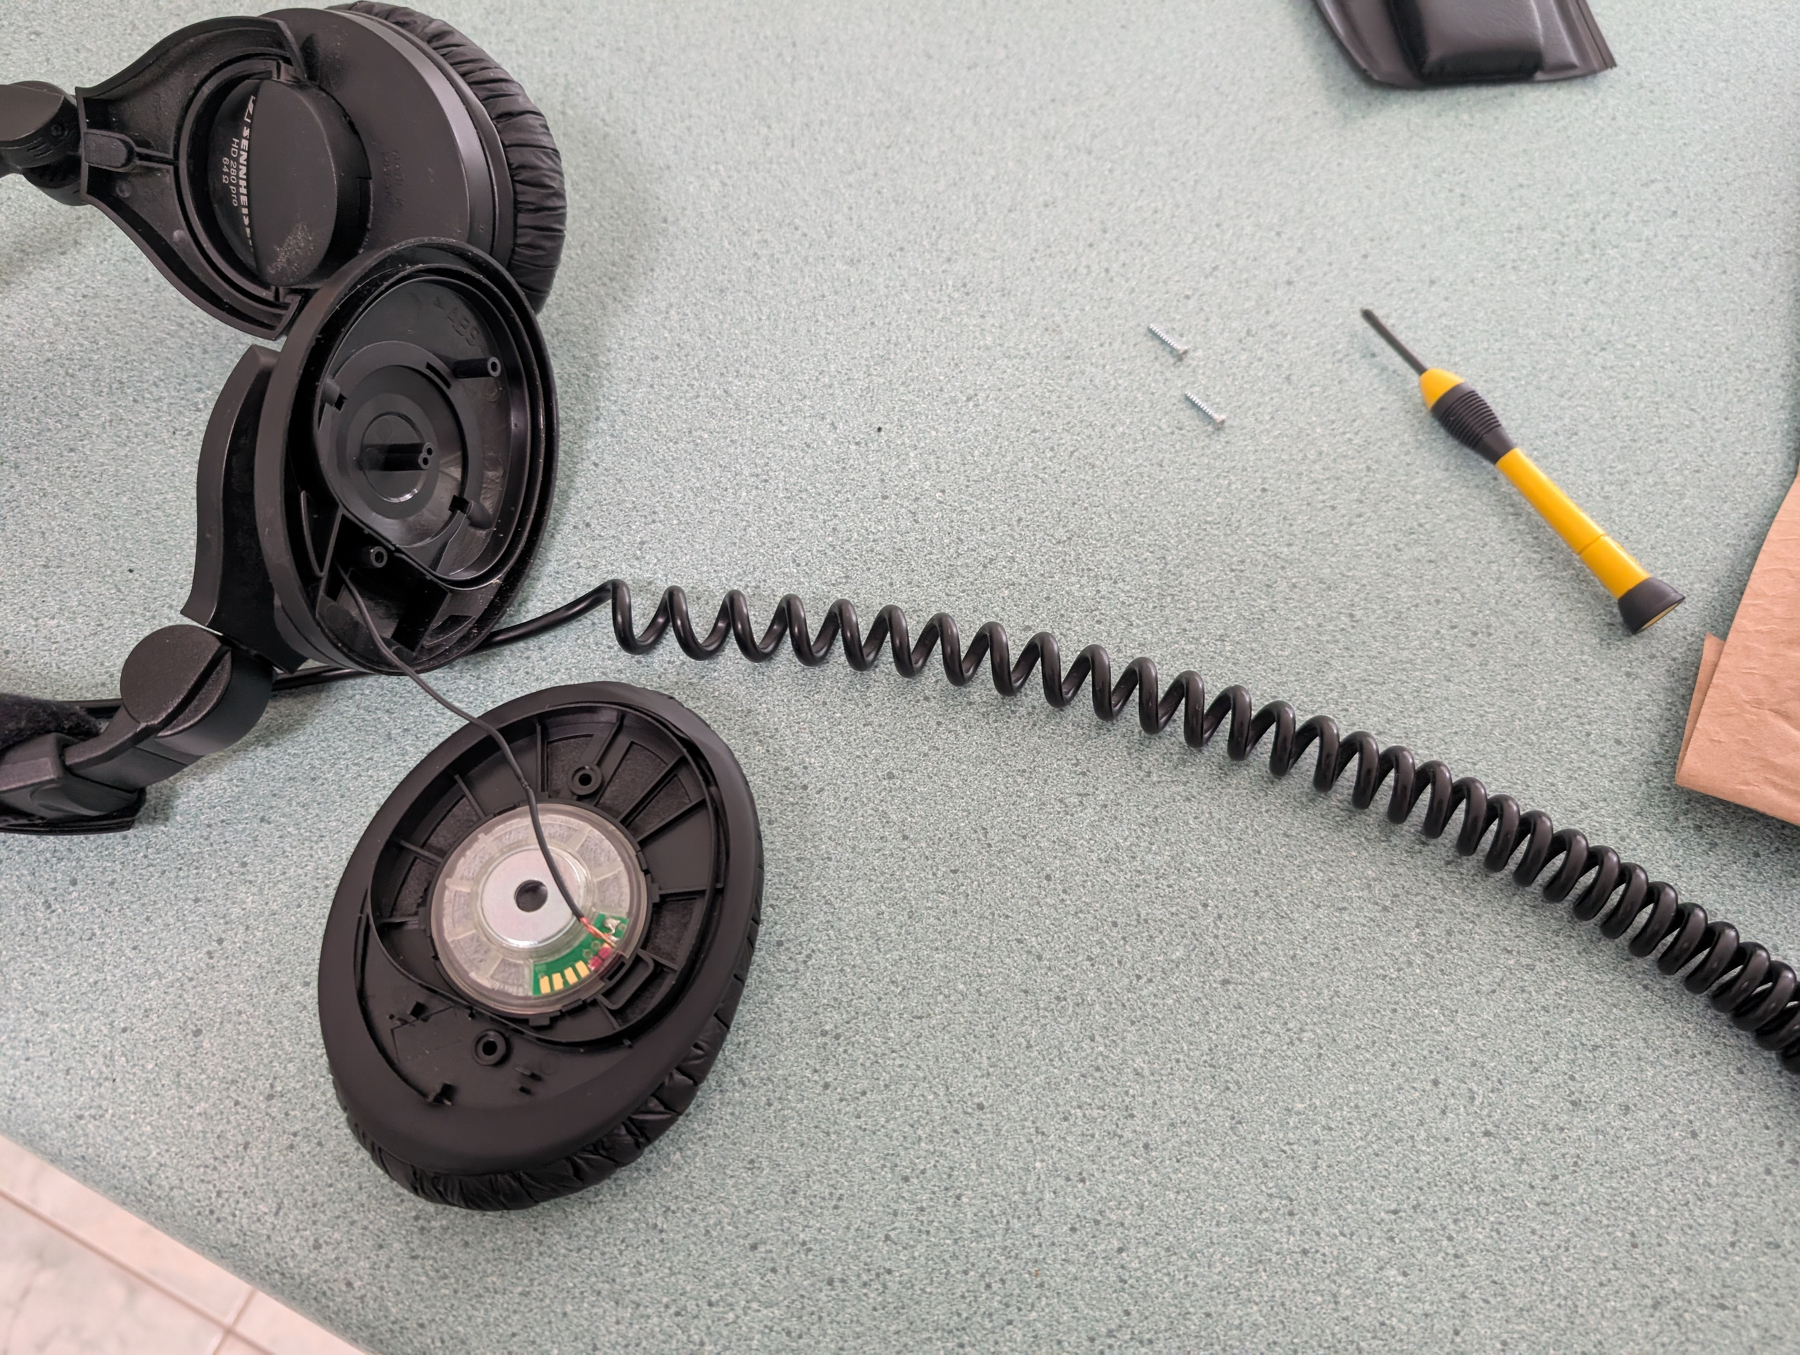
One thing making it difficult was that the entire headphone was getting in my way. I had the genius plan of unscrewing the speaker from the rest of the body first, just so I could move it around easier. And yeah, it was easier, and I managed to get the padding on, but then I realised that I couldn’t access the screws to attach the speaker back once I did. I wasted about 30 minutes all up from that, but it was probably a good idea after all, as I found a little more of the old padding under the lip that I had to remove.
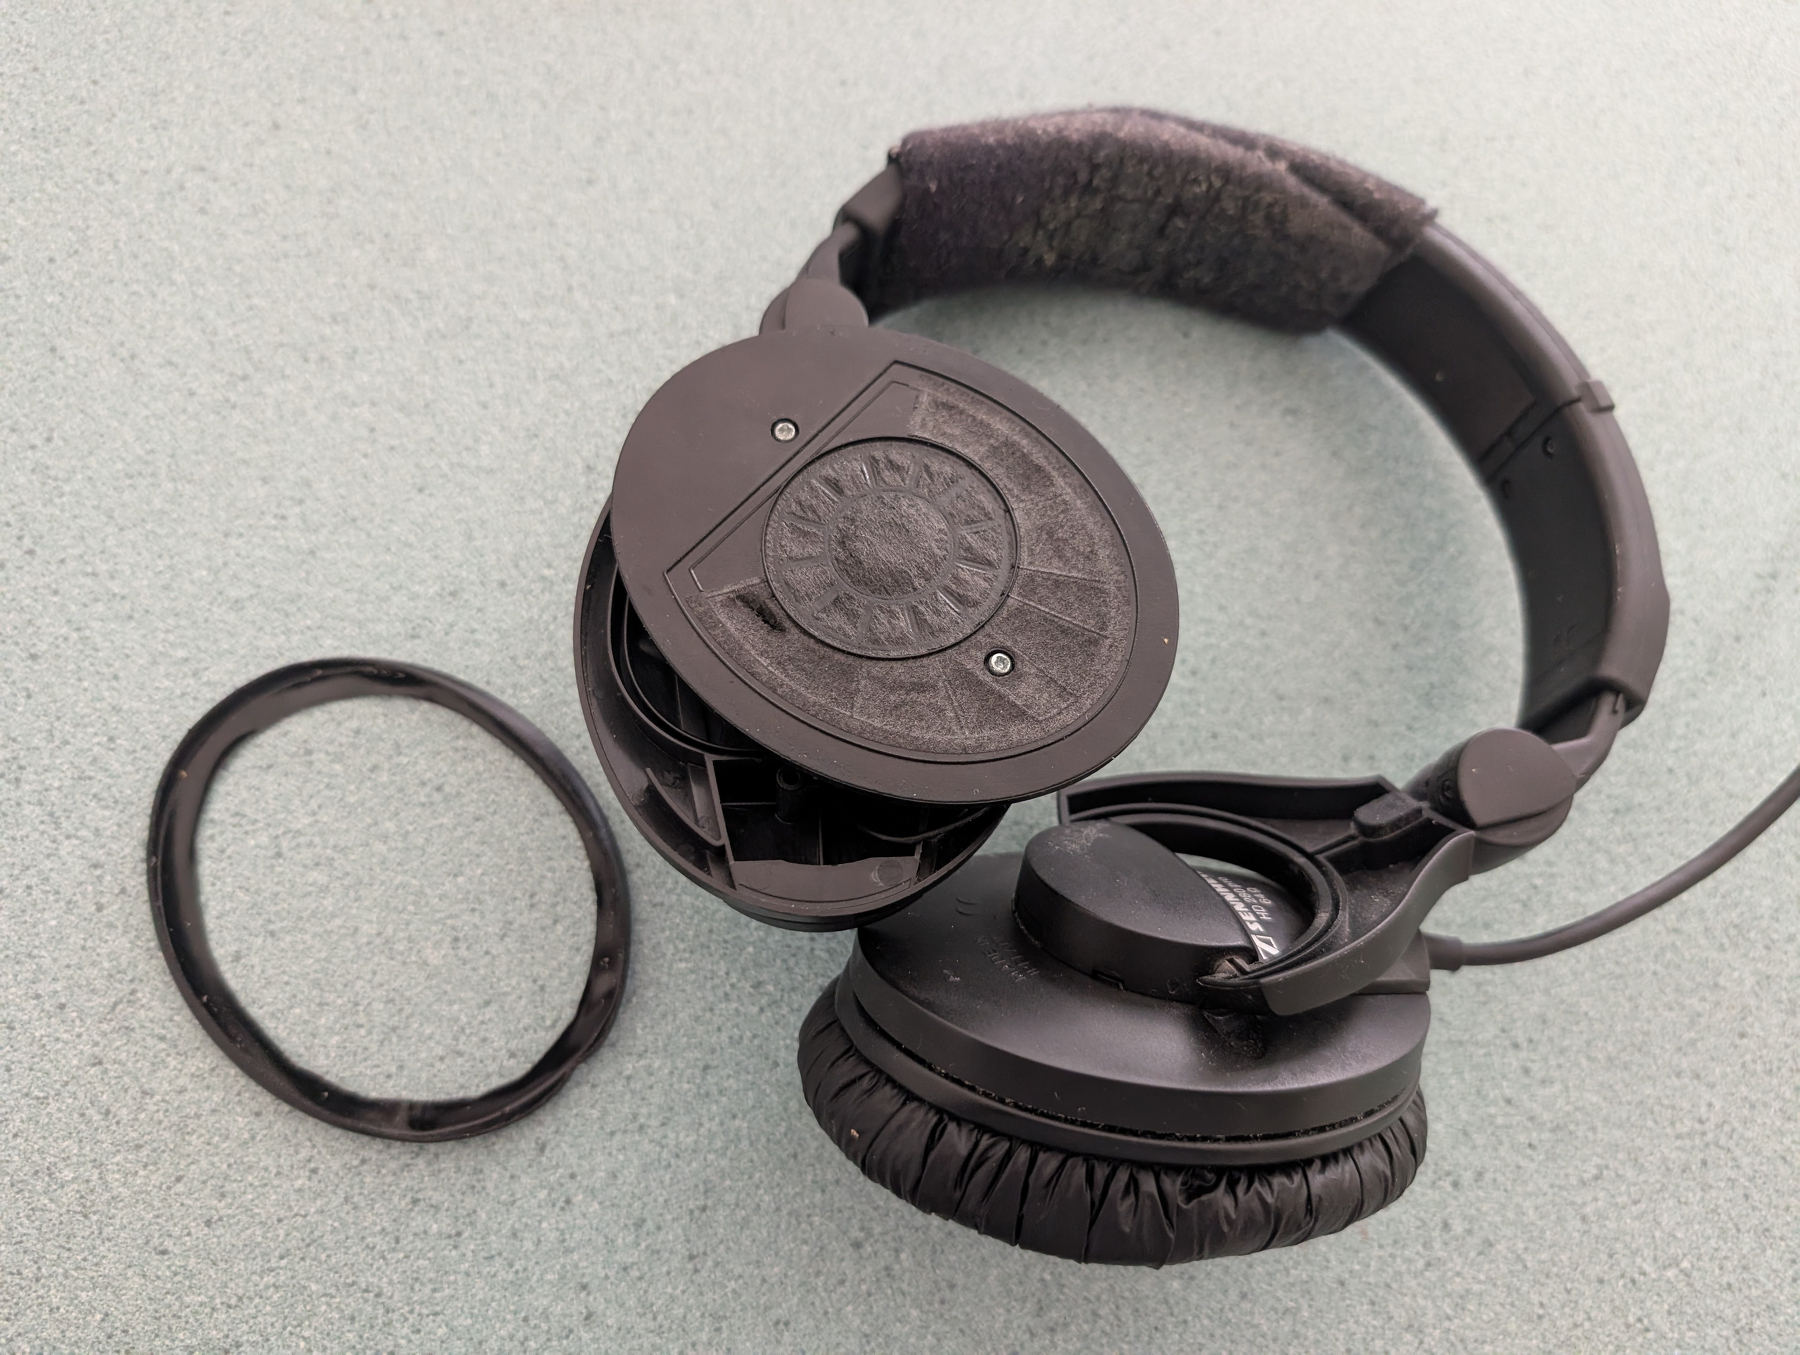
When I put the speaker back, I made sure to make the lip a little larger than before. With that little more space, along with a lot of effort trying to get the lip of the padding into the gap (using a technique of rolling the lip up so you could get it over the side), I finally managed to get the replacement padding on the cup.
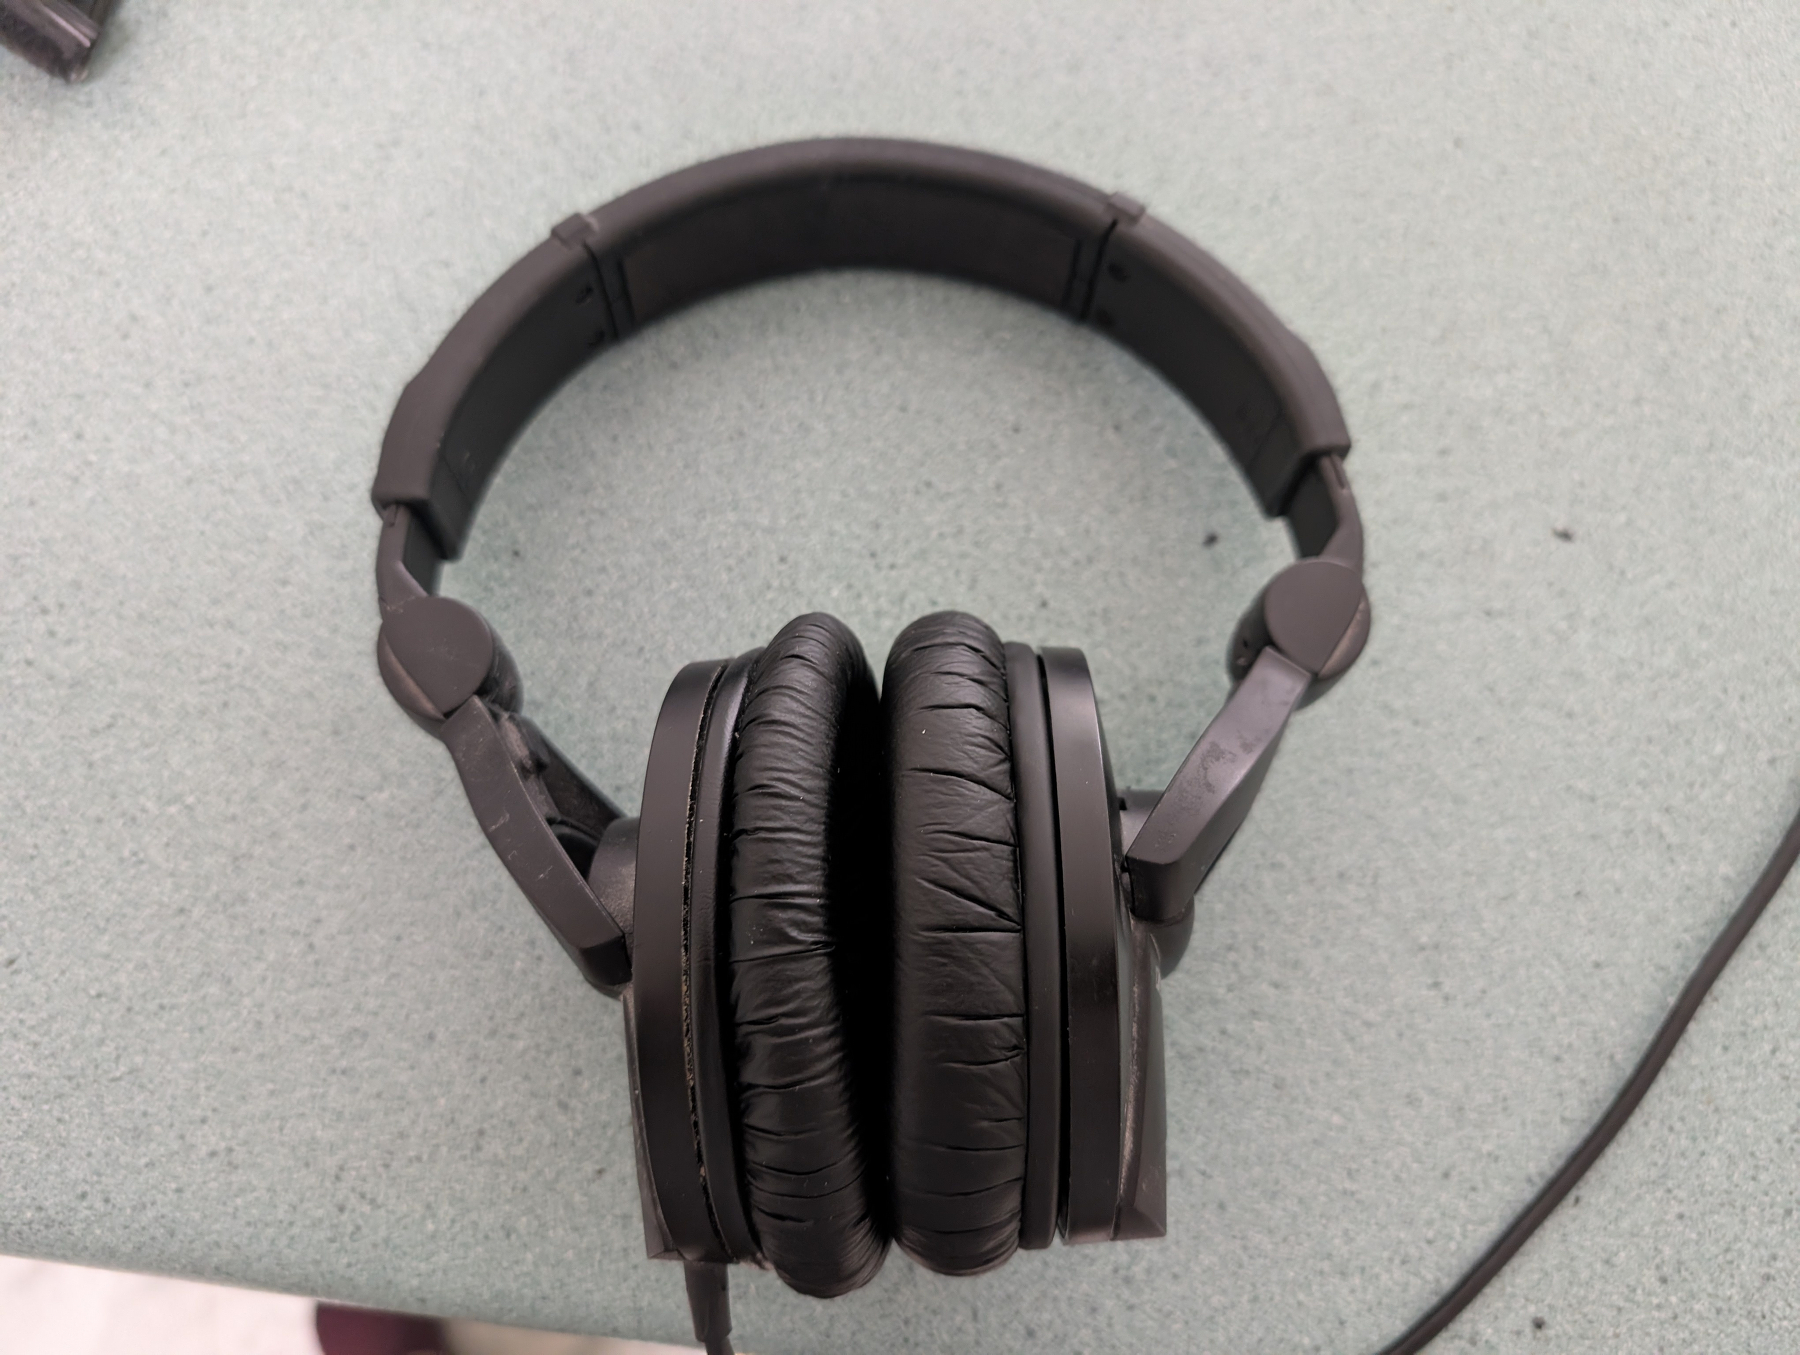
With the new padding on, and the speaker undamaged from my tampering, the headphones are good as new. There is also padding for the overhead bar which I need to replace, but I think I’ll leave that for later.