Blogging Tools — Ideas For Stills For A Podcast Clips Feature
I recently discovered that Pocketcasts for Android have changed their clip feature. It still exists, but instead of producing a video which you could share on the socials, it produces a link to play the clip from the Pocketcasts web player. Understandable to some degree: it always took a little bit of time to make these videos. But hardly a suitable solution for sharing clips of private podcasts: one could just listen to the entire episode from the site. Not to mention relying on a dependent service for as long as those links (or the original podcast) is around.
So… um, yeah, I’m wondering if I could building something for myself that could replicate this.
I’m thinking of another module for Blogging Tools. I was already using this tool to crop the clip videos that came from Pocketcasts so it was already in my workflow. It also has ffmpeg bundled in the deployable artefact, meaning that I could use to produce video. Nothing fancy: I’m thinking of a still showing the show title, episode title, and artwork, with the audio track playing. I pretty confident that ffmpeg can handle such tasks.
I decided to start with the fun part: making the stills. I started with using Draw2D to provide a very simple frame where I could place the artwork and render the text. I just started with primary colours so I could get the layout looking good:
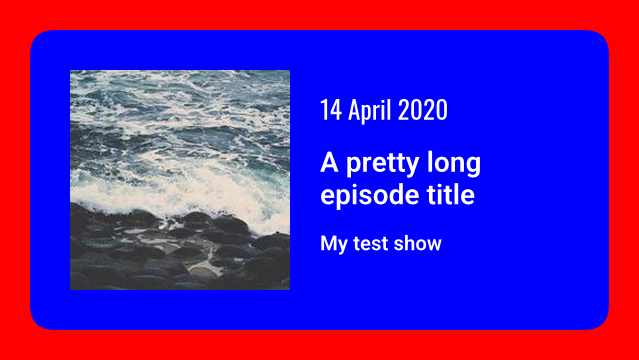
I’m using Roboto Semi-bold for the title font, and Oswald Regular for the date. I do like the look of Oswald, the narrower style contrasts nicely with the neutral Roboto. Draw2D provides methods for measuring text sizes, which I’m using to power the text wrapping layout algorithm (it’s pretty dumb. It basically adds words to a line until it can’t fit the available space)
The layout I got nailed down yesterday evening. This evening I focused on colour.
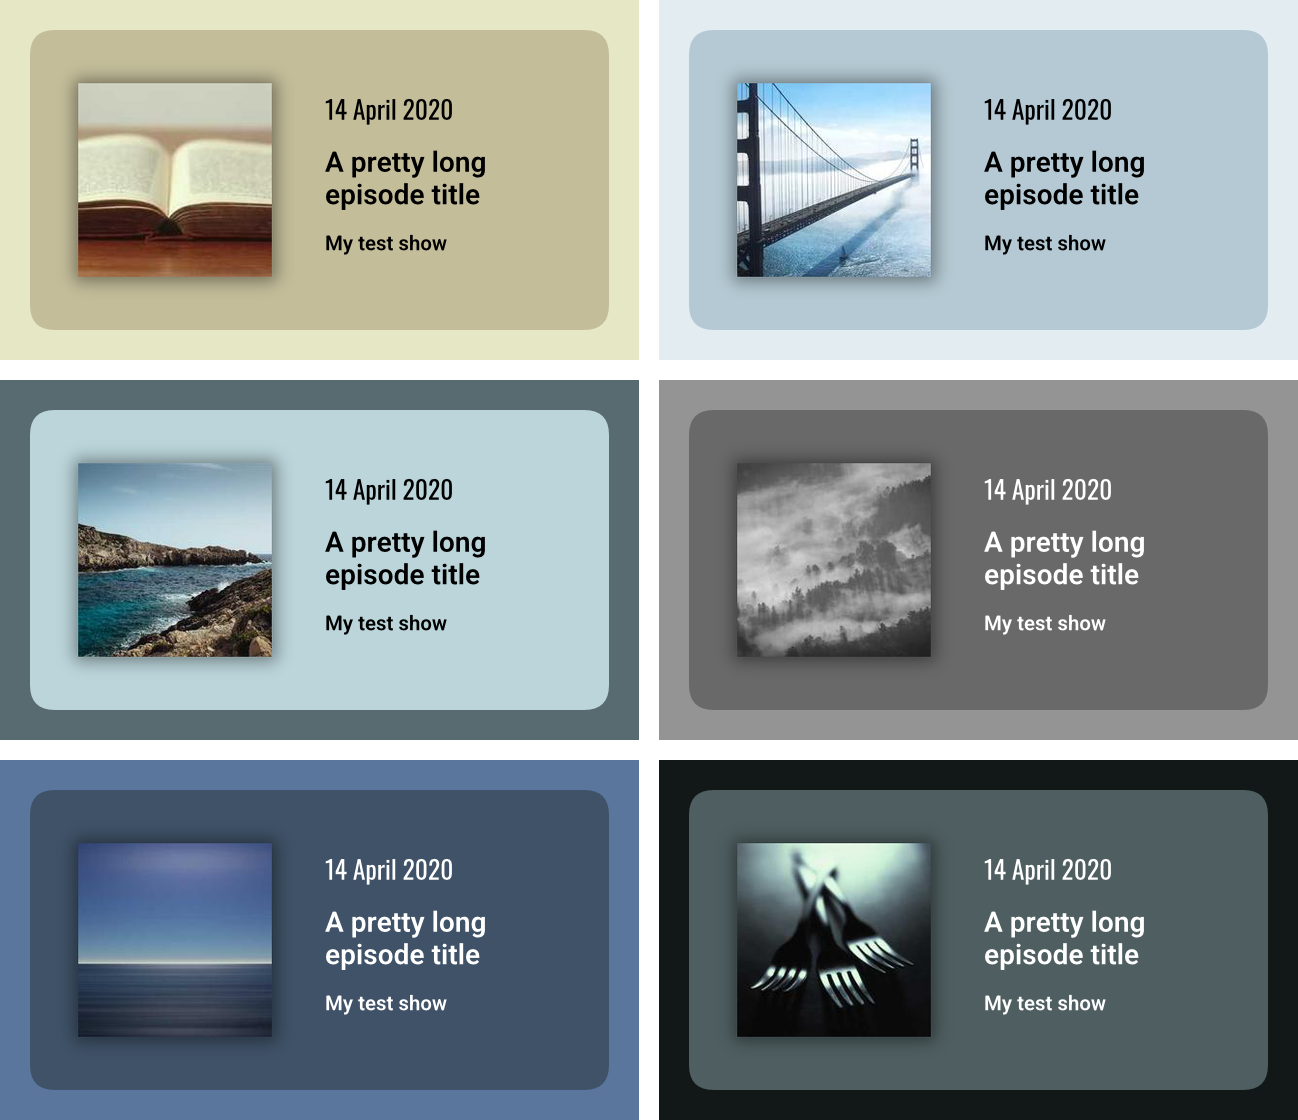
I want the frame to be interesting and close to the prominent colours that come from the artwork. I found this library which returns the dominant colours of an image using K-means clustering. I’ll be honest: I haven’t looked at how this actually works. But I tried the library out with some random artwork from Lorem Picsum, and I was quite happy with the colours it was returning. After adding this library1 to calculate the contract for the text colour, plus a slight shadow, and the stills started looking pretty good:
I then tried some real podcast artwork, starting with ATP. And that’s where things started going off the rails a little:
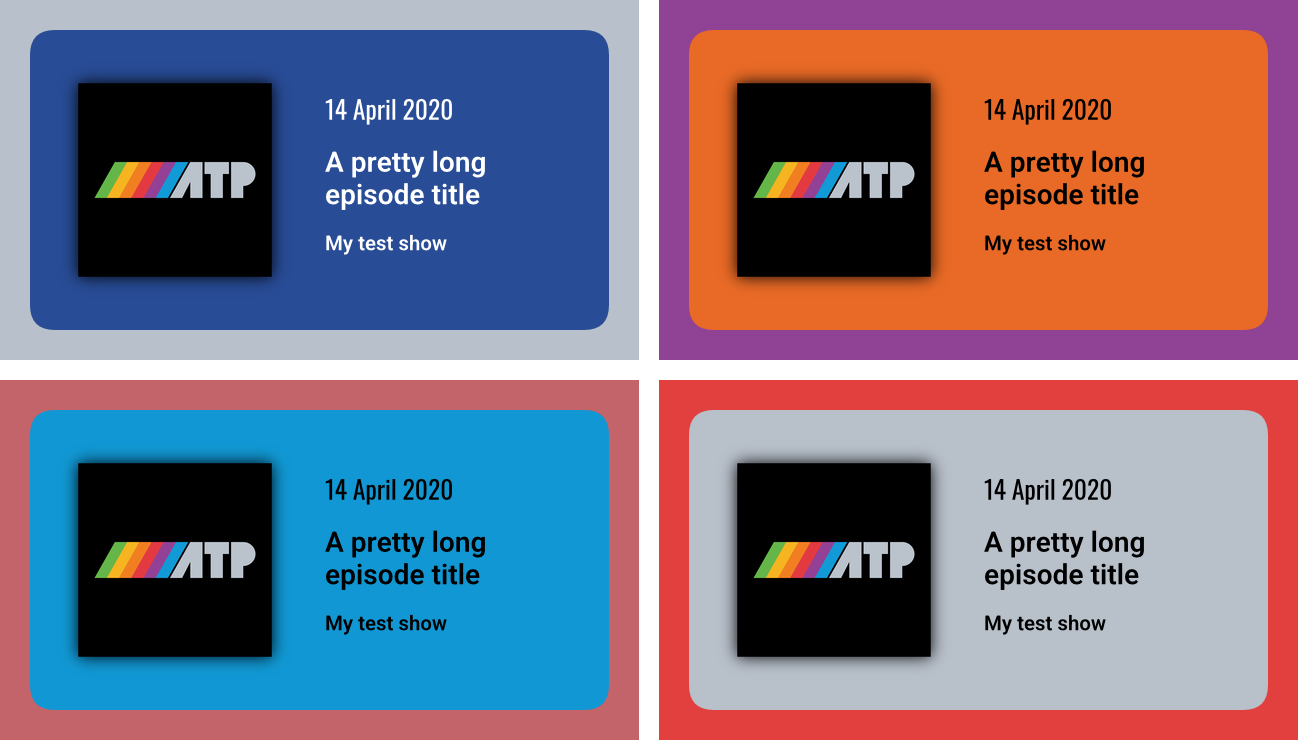
The library returns the colours in order of frequency, and I was using the first colour as the border and the second as the card background. But I’m guessing since the ATP logo has so few actual colour, the K-means algorithm was finding those of equal prominence and returning them in a random order. Since the first and second are of equal prominence, the results were a little garish and completely random.
To reduce the effects of this, I finished the evening by trying a variation where the card background was simply a shade of the border. That still produced random results, but at least the colour choices were a little more harmonious:
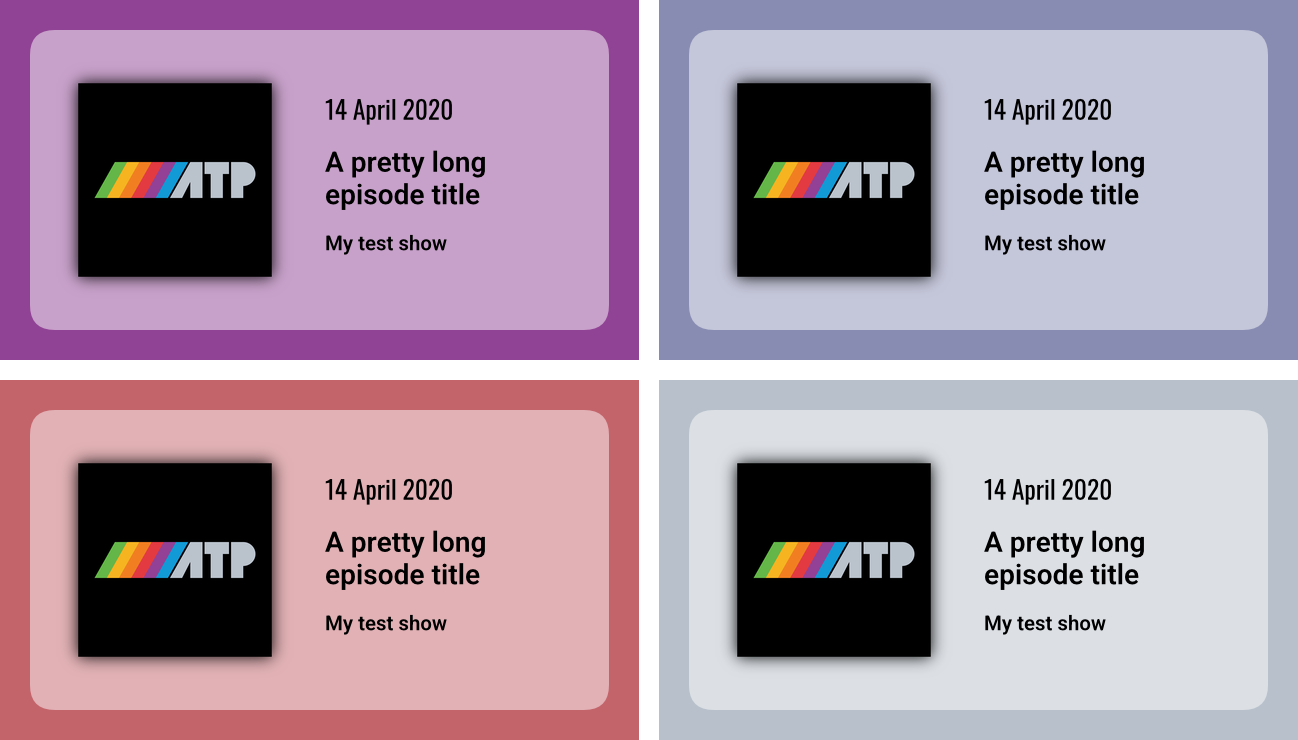
I’m not sure what I want to do here. I’ll need to explore the library a little, just to see whether it’s possible to reduce the amount of randomness. Might be that I go with the shaded approach and just keep it random: having some variety could make things interesting.
Of course, I’m still doing the easy and fun part. How the UI for making the clip will look is going to be a challenge. More on that in the future if I decide to keep working on this. And if not, at least I’ve got these nice looking stills.
-
The annoying thing about this library is that it doesn’t use Go’s standard
Colortype, nor does it describe the limits of each component. So for anyone using this library: the range for R, G, and B go from 0 to 255, and A goes from 0 to 1. ↩︎