
-
Imports And The New Model
Well, I dragged Photo Bucket out today to work on it a bit.
It’s fallen by the wayside a little, and I’ve been wondering if it’s worth continuing work on it. So many things about it that need to be looked at: the public site looks ugly, as does the admin section; working with more than a single image is a pain; backup and restore needs to be added; etc.
Continue reading → -
UCL: Procs and Higher-Order Functions
More on UCL yesterday evening. Biggest change is the introduction of user functions, called “procs” (same name used in TCL):
proc greet {
    echo "Hello, world"
}

greet
--> Hello, world
Naturally, like most languages, these can accept arguments, which use the same block variable binding as the
foreachloop:proc greet { |what| echo "Hello, " $what } greet "moon" --> Hello, moonThe name is also optional, and if omitted, will actually make the function anonymous. This allows functions to be set as variable values, and also be returned as results from other functions.
Continue reading → -
UCL: First Embed, and Optional Arguments
Came up with a name: Universal Control Language: UCL. See, you have TCL; but what if instead of being used for tools, it can be more universal? Sounds so much more… universal, am I right? 😀
Yeah, okay. It’s not a great name. But it’ll do for now.
Anyway, I’ve started integrating this language with the admin tool I’m using at work. This tool I use is the impetus for this whole endeavour. Up until now, this tool was just a standard CLI command usable from the shell. But it’s not uncommon for me to have to invoke the tool multiple times in quick succession, and each time I invoke it, it needs to connect to backend systems, which can take a few seconds. Hence the reason why I’m converting it into a REPL.
Continue reading → -
Tool Command Language: Lists, Hashs, and Loops
A bit more on TCL (yes, yes, I’ve gotta change the name) last night. Added both lists and hashes to the language. These can be created using a literal syntax, which looks pretty much looks how I described it a few days ago:
set list ["a" "b" "c"]
set hash ["a":"1" "b":"2" "c":"3"]
I had a bit of trouble working out the grammar for this, I first went with something that looked a little like the following, where the key of an element is optional but the value is mandatory:
Continue reading → -
Backlog Proc: A Better JQL
Backlog Proc is a simple item backlog tracker I built for work. I’d like to link them to Jira tickets, so that I know whether a particular backlog item actually has tasks written for them, and what the status of each of those tasks are. I guess these are meant to be tracked by epics, but Jira’s UI for handling such things is a mess, and I’d like to make notes that are only for my own eyes.
Continue reading → -
Tool Command Language: Macros And Blocks
More work on the tool command language (of which I need to come up with a name: I can’t use the abbreviation TCL), this time working on getting multi-line statement blocks working. As in:
echo "Here"
echo "There"
I got a little wrapped up about how I can configure the parser to recognise new-lines as statement separators. I tried this in the past with a hand rolled lexer and ended up peppering
Continue reading →NLtokens all around the grammar. I was fearing that I needed to do something like this here. After a bit of experimentation, I think I’ve come up with a way to recognise new-lines as statement separators without making the grammar too messy. The unit tests verifying this so far seem to work. -
Tool Command Language
I have this idea for a tool command language. Something similar to TCL, in that it’s chiefly designed to be used as an embedded scripting language and chiefly in an interactive context.
It’s been an idea I’ve been having in my mind for a while, but I’ve got the perfect use case for it. I’ve got a tool at work I use to do occasional admin tasks. At the moment it’s implemented as a CLI tool, and it works. But the biggest downside is that it needs to form connections to the cluster to call internal service methods, and it always take a few seconds to do so. I’d like to be able to use it to automate certain actions, but this delay would make doing so a real hassle.
Continue reading → -
Photo Bucket Update: Exporting To Zip
Worked a little more on Photo Bucket this week. Added the ability to export the contents of an instance to a Zip file. This consist of both images and metadata.
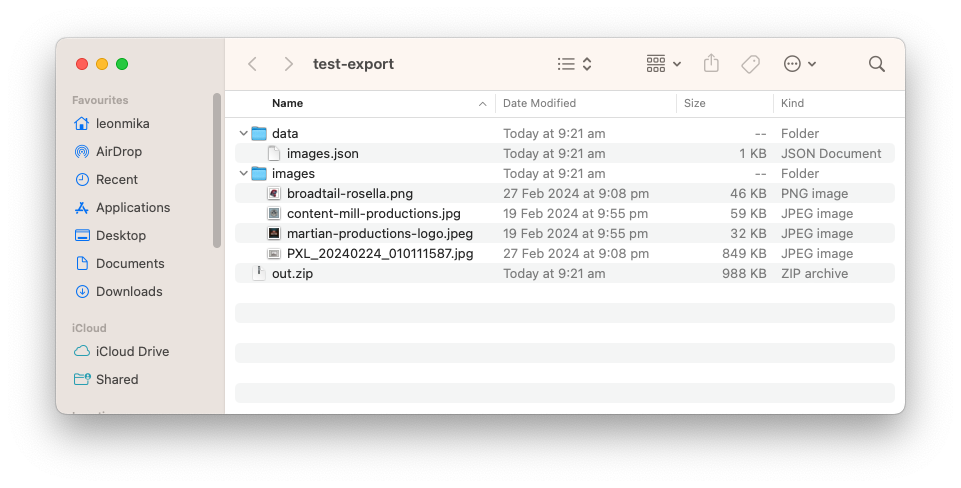
I’ve went with lines of JSON file for the image metadata. I considered a CSV file briefly, but for optional fields like captions and custom properties, I didn’t like the idea of a lot of empty columns. Better to go with a format that’s a little more flexible, even if it does mean more text per line.
Continue reading → -
Photo Bucket Update: More On Galleries
Spent a bit more time working on Photo Bucket this last week1, particularly around galleries. They’re progressing quite well. I’m made some strides in getting two big parts of the UI working now: adding and removing images to galleries, and re-ordering gallery items via drag and drop.
I’ll talk about re-ordering first. This was when I had to bite the bullet and start coding up some JavaScript. Usually I’d turn to Stimulus for this but I wanted to give HTML web components a try. And so far, they’ve been working quite well.
Continue reading → -
Photo Bucket Galleries and Using the HTML Popover API
Spent a bit more on Photo Bucket this evening. Tonight I started working on galleries, which’ll work more or less like albums.
At the moment you can create a gallery and add a photo to it. Most of the work so far has been backend so the UI is pretty rough. Eventually you’ll be able to do things like rearrange photos within galleries, but for the moment they’ll just be added to the end.
Continue reading → -
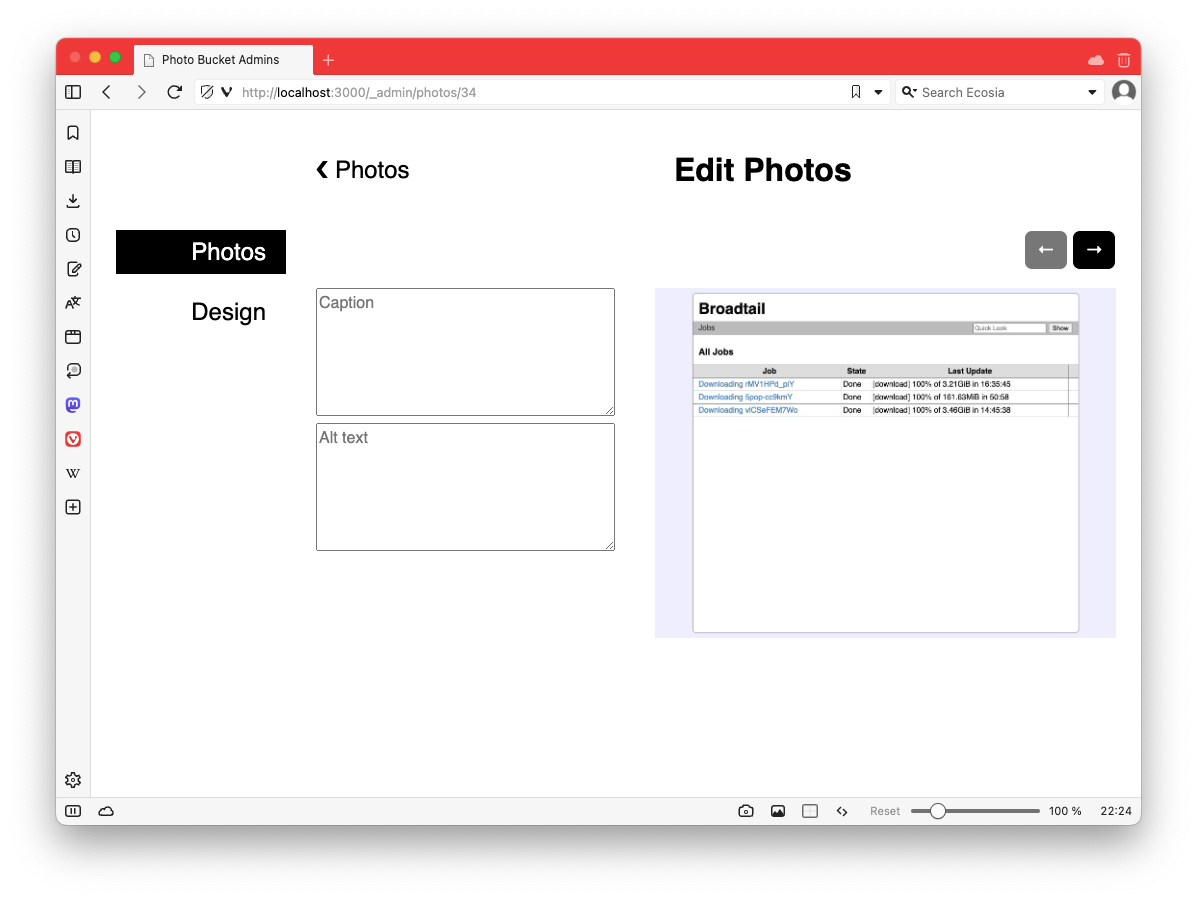
Spent some time this evening working on my image hosting tool. It’s slowly coming along, but wow do I suck at UI design (the “Edit Photo” screen needs some rebalancing).
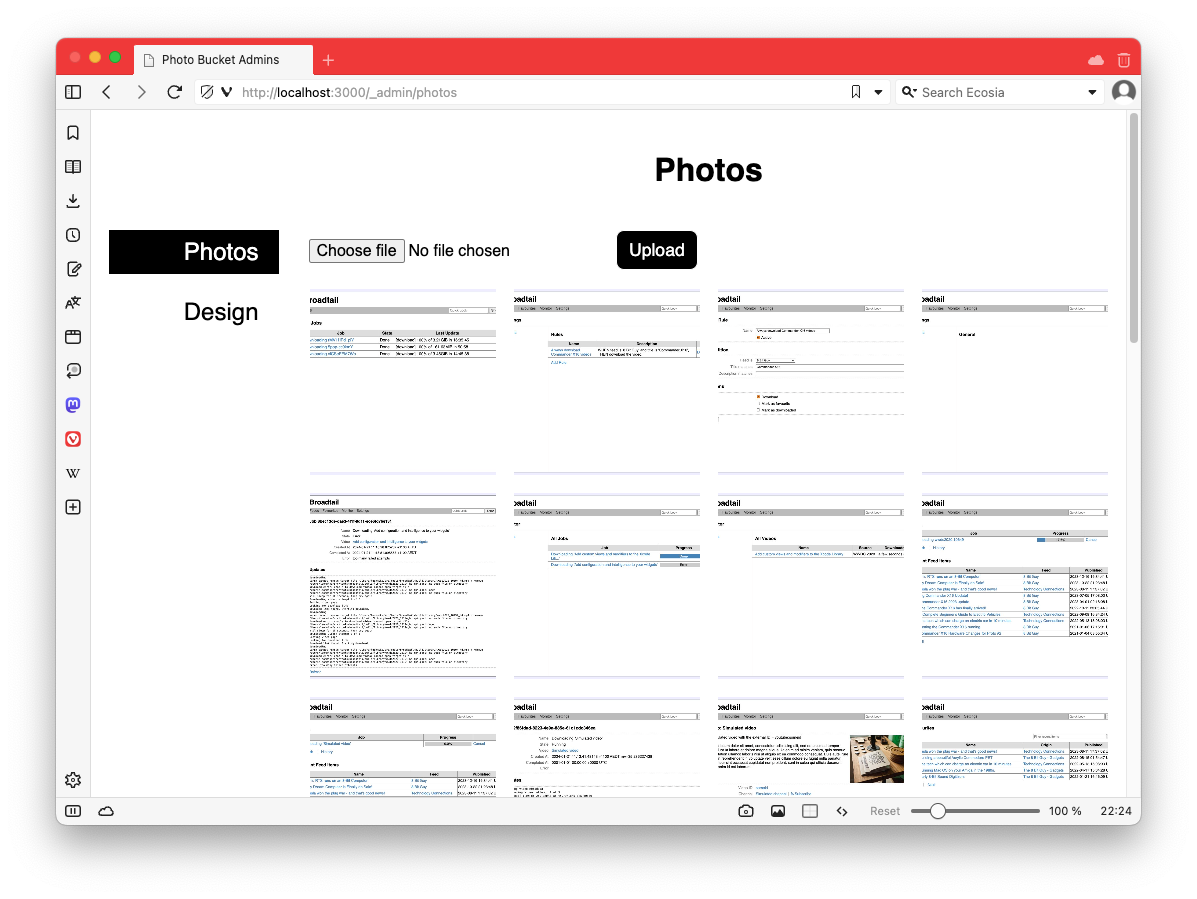
 devlog screenshots
 -
Working on one of the admin sections of the project I was alluding to yesterday. Here’s a screencast of how it’s looking so far.
The styling and layout is not quite final. I’m focusing more on functionality, and getting layout and whitespace looking good always takes time. But compared to how it looked before I started working on it this morning, I think it’s a good start.
-
In the end it took significantly more time to write about it then to actually do it, but the dot product approach seems to work.
-
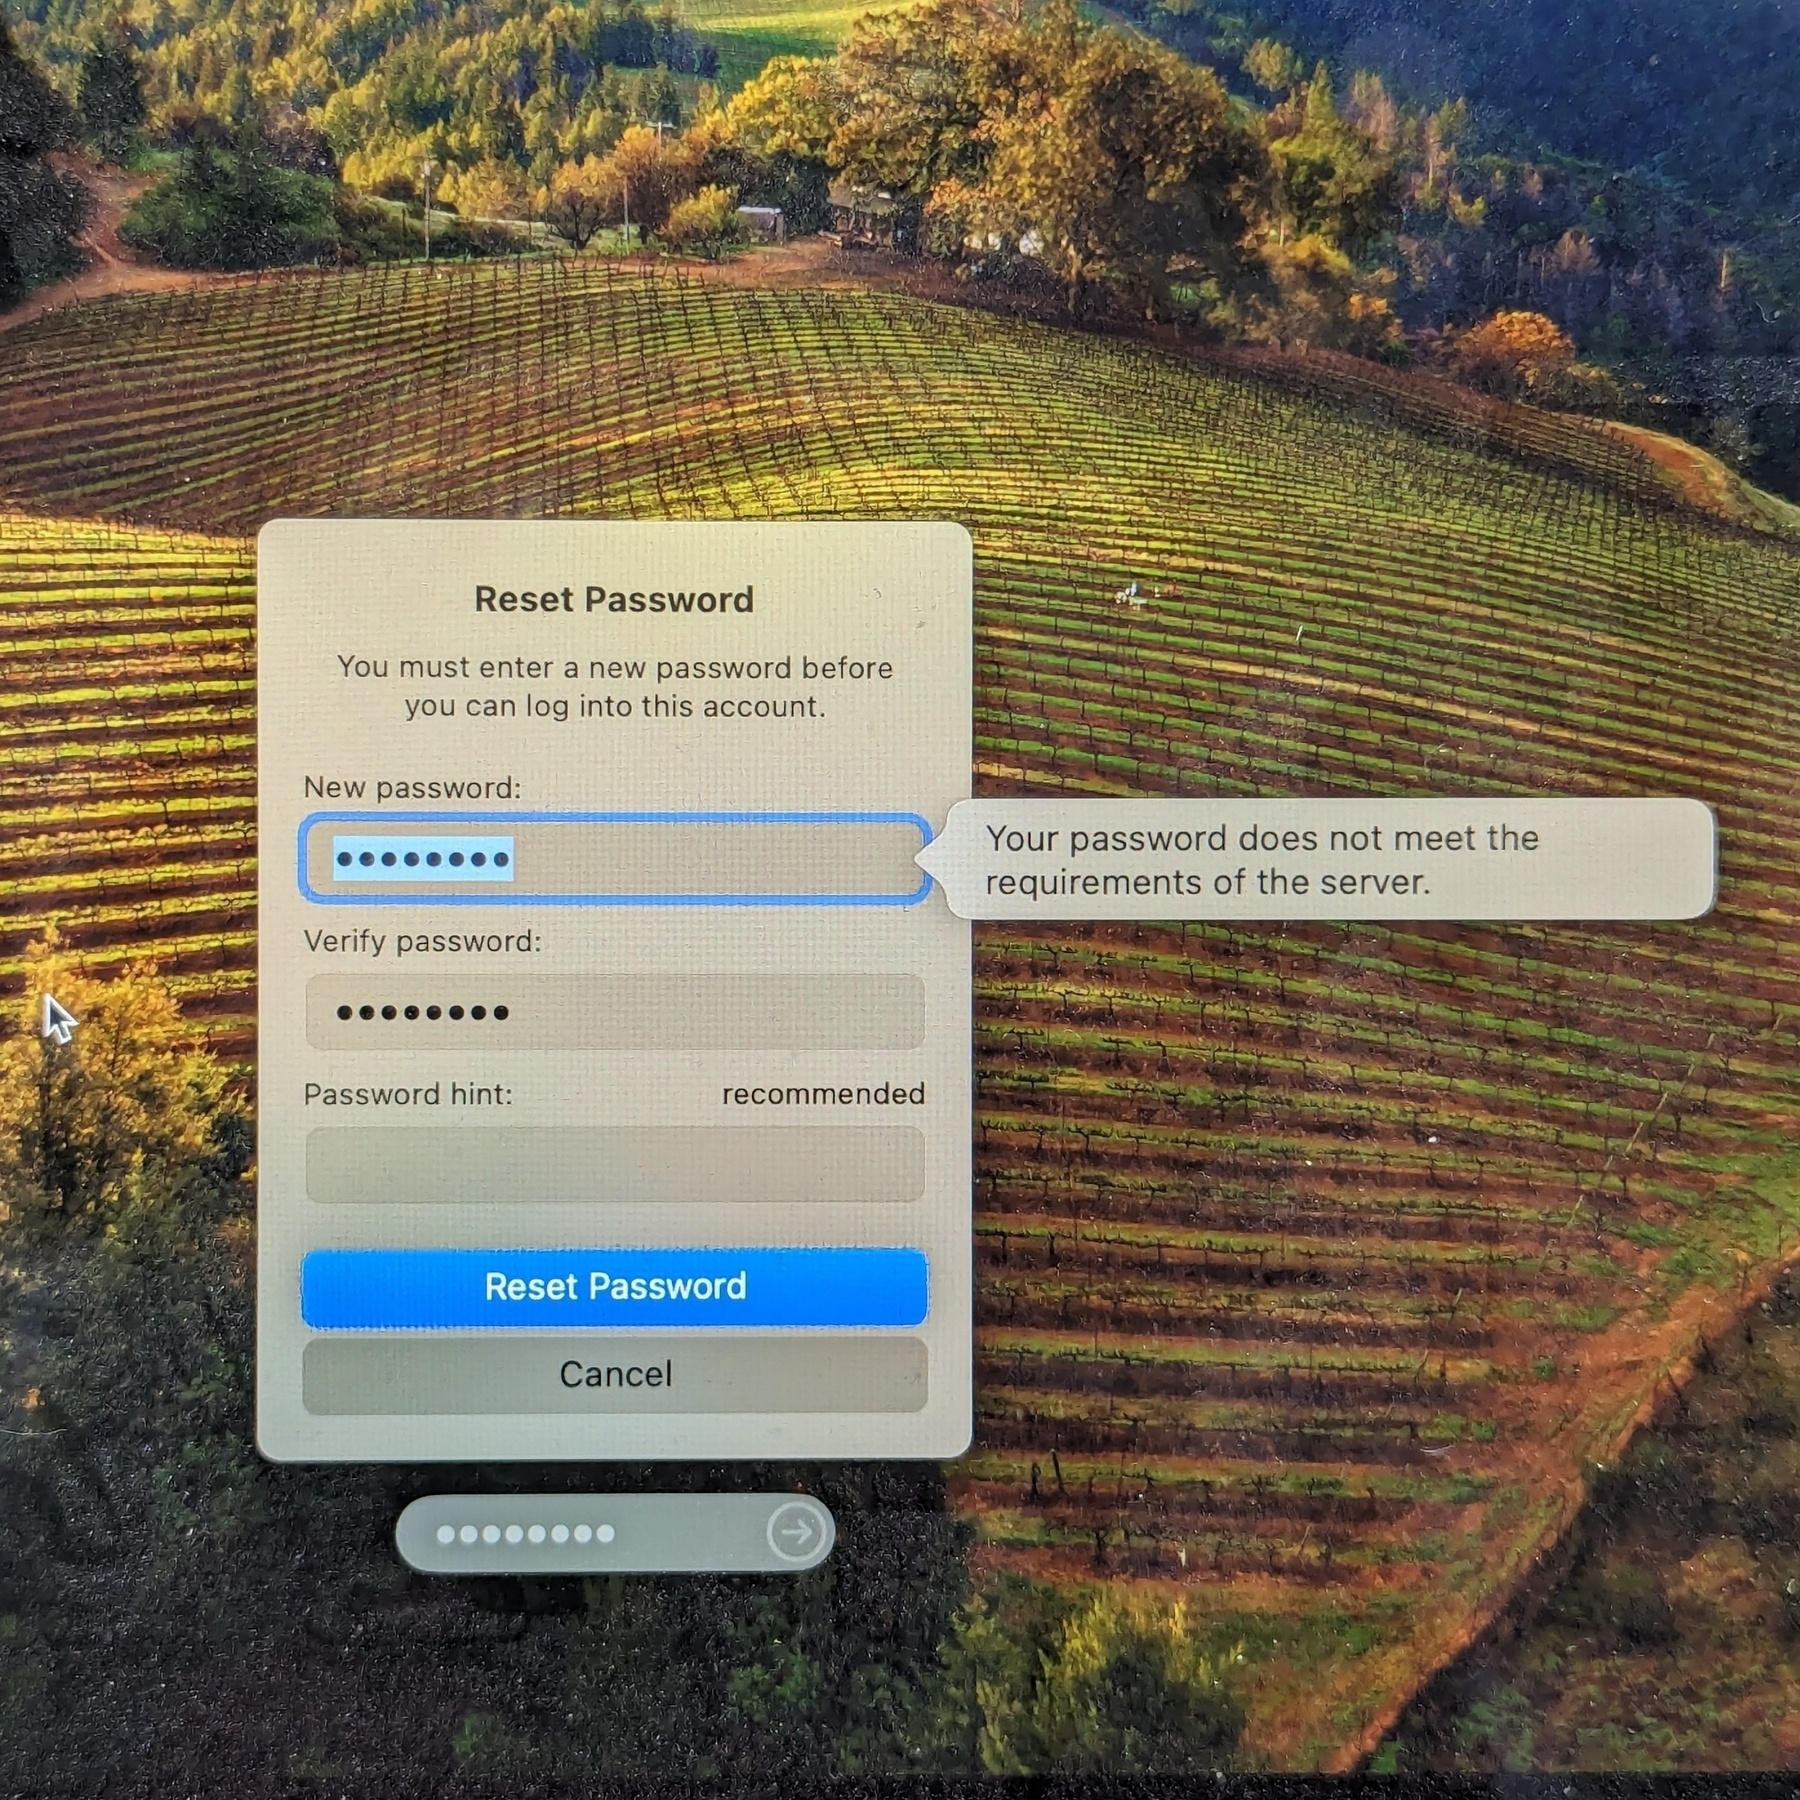
So I guess today’s beginning with a game of “guess the secret password requirements.” 😒
 devlog
 -
Making some progress in learning Elm for building frontends. Started working on a Connections clone, which I’m calling “Clonections”. This is what I’ve got so far:
It’s been fun using Elm to build this. So far I’m liking the language. Of course, now I’ll have to come up with puzzles for this. 😐
-
Spent a little more time working on my idea for Dynamo-Browse this week. Managed to get it somewhat feature complete this weekend:
I probably should say a few words on what it actually is. The idea is to make it quick and easy to run pre-canned queries based on the currently selected item and table.
Let’s say you’ve got a table with customer information, and another table with subscription information, and they’re linked with some form of customer ID. If you wanted to see the subscriptions of a customer, up until now, you’d have to copy the customer ID to the paste-board, change the currently viewed table, then run a query to select the subscription with that customer ID. It’s not difficult but it’s extremely tedious.
This change is meant to streamline this. Now, in a script function, you can define a “related item” provider which, if matched against the currently displayed table, will be given the currently selected item, and will return a list of queries that will display items related to the current item (depending on whatever definition of “related” will be). This will be presented to the user as a list. When the user chooses the item, the query will run and the results will be displayed.
Here’s an example of the script used for the screencasts:
ext.related_items("business-addresses", func(item) {
    return [
        {"label": "Customer", "query": `city=$city`, "args": {"city": "Austin"}},
        {"label": "Payment", "query": `address^="3"`},
        {"label": "Thing", "table": "inventory",
            "query": `pk=$pk`, "args": {"pk": "01fca33a-5817-4c27-8a8f-82380584e69c"}},
    ]
})

ext.related_items("inventory", func(item) {
    sk := string(item.attr("sk"))
    return [
        {"label": "SK: " + sk, "table": "business-addresses",
            "query": `pk^=$sk`, "args": {"sk": sk}},
    ]
})
Notice how the last
business-addressesitem specifies the “inventory” table, and that the “inventory” provider actually uses an attribute of the item. Here’s a screencast of that working:This feature has been on the idea board for a while. I was trying to work out how best to handle the pre-canned queries, especially considering that they will likely be different for each item and table. Some ideas I had were adding additional UI elements that the user could use to configure these queries. These would go into the workspace file, a sort of an embedded database which is created for each session. This was pretty crappy, especially when you consider that workspaces usually only last until the user exists. It was only a few weeks ago when I considered using the scripting facilities to implement this (which, honestly, shows how much it remains under-utilised).
Anyway, I’ve only just finished development of it. I’d still like to try it for the various related items I tend to use during my day-to-day. We’ll see how well it works out.
-
Idea For Mainboard Mayhem: A Remote Pickup
Sort of in-between projects at the moment so I’m doing a bit of light stuff on Mainboard Mayhem. I had an idea for a new element: a remote control which, when picked up, will allow the player to toggle walls and tanks using the keyboard, much like the green and blue buttons.
I used ChatGGT to come up with some artwork, and it produced something that was pretty decent.
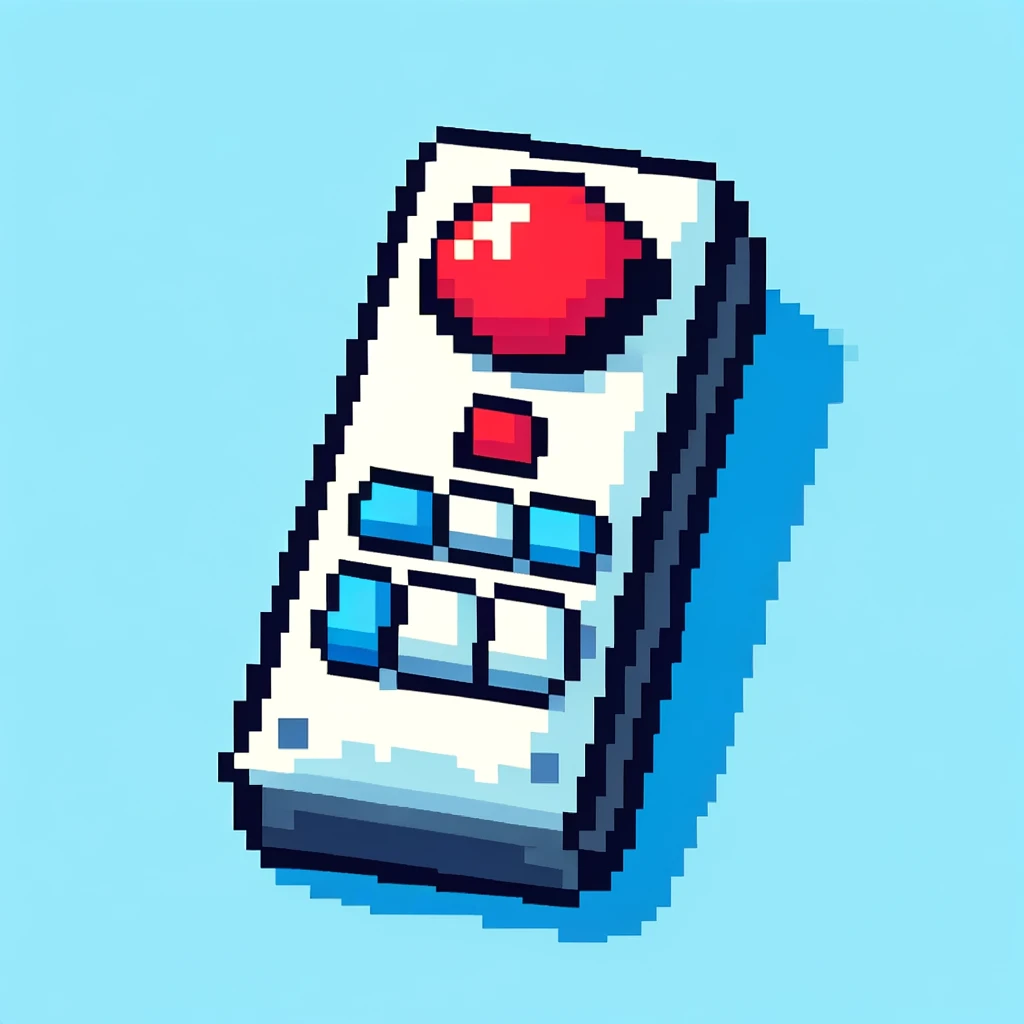
Prompt: pixel art of a remote control with a single red button styled like the tiles found in Chips Challange, rotated 45 degrees to the right. Only issue was that the image was huge — 1024 x 1024 — and the tiles in Mainboard Mayhem were only 32 x 32.
Continue reading → -
More work on Mainboard Mayhem today. Had a bit more success getting the Windows build into a releasable state.
First thing was the app icon. That blog post I talked about yesterday worked: I was able to set the icon of the executable. I did make a slight adjustment though. The post suggested using ImageMagick to produce the ICO file, but I wasn’t happy with how they looked. There were a lot of artefacts on the smaller icon sizes.
So I looked around for an alternative, and found this package by Lea Anthony. He’s the maintainer of Wails, a cross-platform toolkit for making browser-based GUI apps in Go, sort of like Electron but without bundling Chrome. In fact, most of the build for Mainboard Mayhem was put together by reading the Wails source code, so I trust he knows what his doing. And sure enough, his package produced a nicely scaled ICO file from a source PNG image. Better yet, it was distributed as a Go package, so I could no need to install and shell-out to run it: I could just integrated it directly into the project’s build tool.
Using rsrc to generate the SYSO file with the icon worked as expected: Go did pick it up and embed it into the executable. I did have some trouble getting the Go compiler to pick up these files at first. In short, they need to be in the same directory as the
mainpackage. So if you’re runninggo build ./cmd/thing, make sure the SYSO files are in./cmd/thing. Other than that, no real issues here.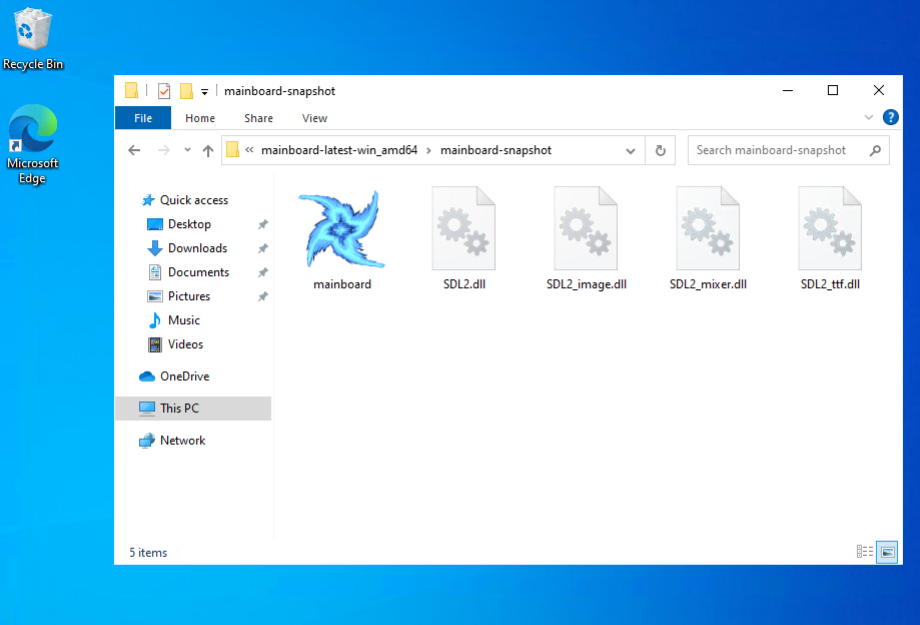
A beautiful site: Mainboard.exe with the embedded app icon One last thing I had to deal with was the console window. Running a Go app in Windows shows the console by default. Perfectly fine for command line tools, but less so for games:
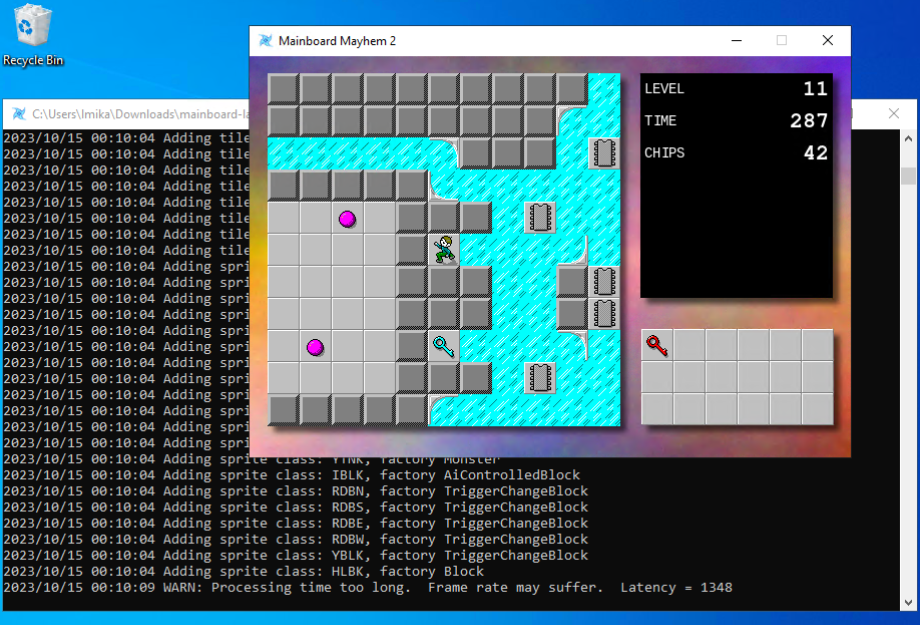
Mainboard Mayhem with that annoying console window. Even the log messages are dull (well, unless you're working on the app). So I had to find a way to hide the console on launch. Since Mainboard Mayhem is using SDL, I’m actually using MinGW to cross-compile the Windows release on an Ubuntu build runner. The documentation for MinGW suggests adding
-mwindowsas a linker option to hide the console:# What I was doing before, which didn't work CGO_ENABLED=1 \ CC="x86_64-w64-mingw32-gcc" \ GOOS="windows" \ CGO_LDFLAGS="-mwindows -L…" \ go build -o dist/cclm/mainboard.exe ./cmd/cclm'This didn’t actually work when I tried it: launching the app kept bringing up the console. Turns out what I should’ve done was follow the advice of many Stack Overflow answers, and set
-ldflags "-H=windowsgui"on the Go command:# This works CGO_ENABLED=1 \ CC="x86_64-w64-mingw32-gcc" \ GOOS="windows" \ CGO_LDFLAGS="-L…" \ go build -ldflags "-H=windowsgui" -o dist/cclm/mainboard.exe ./cmd/cclm'This works even without the
-mwindowsswitch. Not completely sure why though. I guess MinGW is not actually being used for linking? Or maybe-monly works with C header files? Don’t know. 🤷 But doesn’t matter: the console no longer shows up on launch.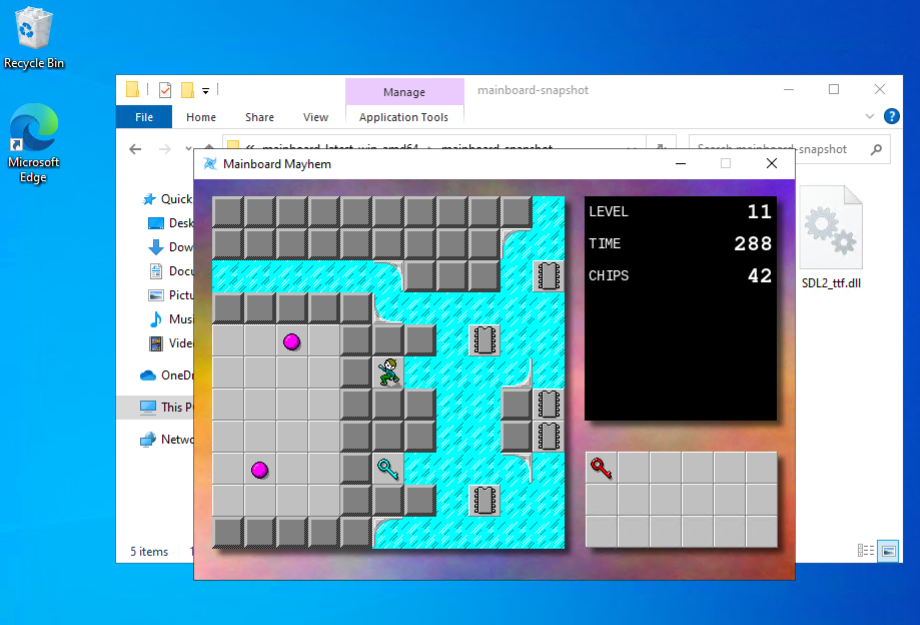
Mainboard Mayhem without the console window. A much nicer experience now. Finally, there was testing it all, and for this I just bit the bullet and set-up a Windows 10 virtual machine in Azure. The rate is something like $0.16 AUD an hour, an easy decision compared to spending time trying to get a VM with Windows 10 running on my machine.
One remaining thing that’s slightly annoying is Windows Defender refusing to launch it after download, doing effectively the same thing as Gatekeeper on MacOS does:
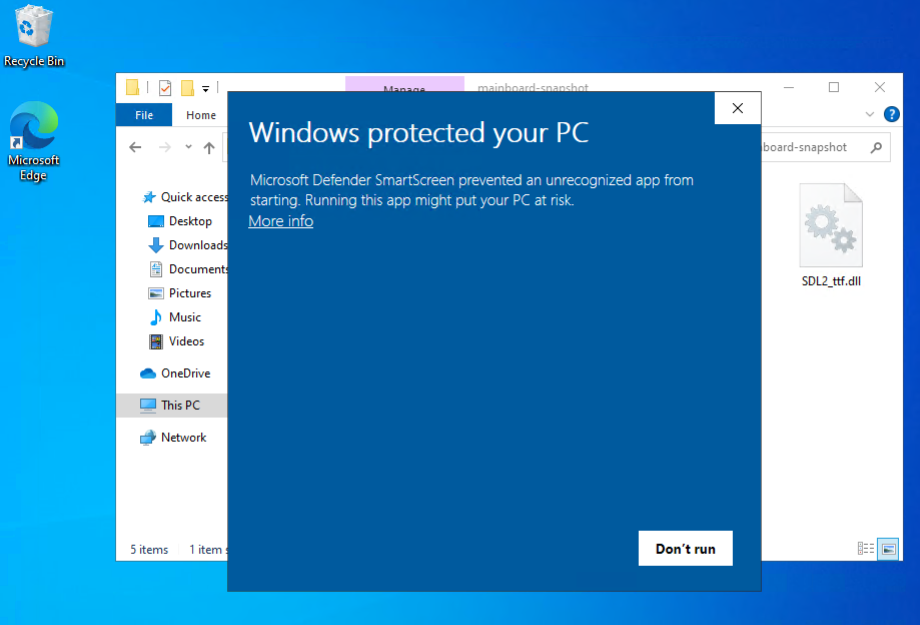
Gatekeeper a.la. Microsoft. I’m sure there’s a way around it but it’s probably not worth learning about it at this stage. It’s easy enough to dismiss: click “More Info” and the click “Run Anyway”:
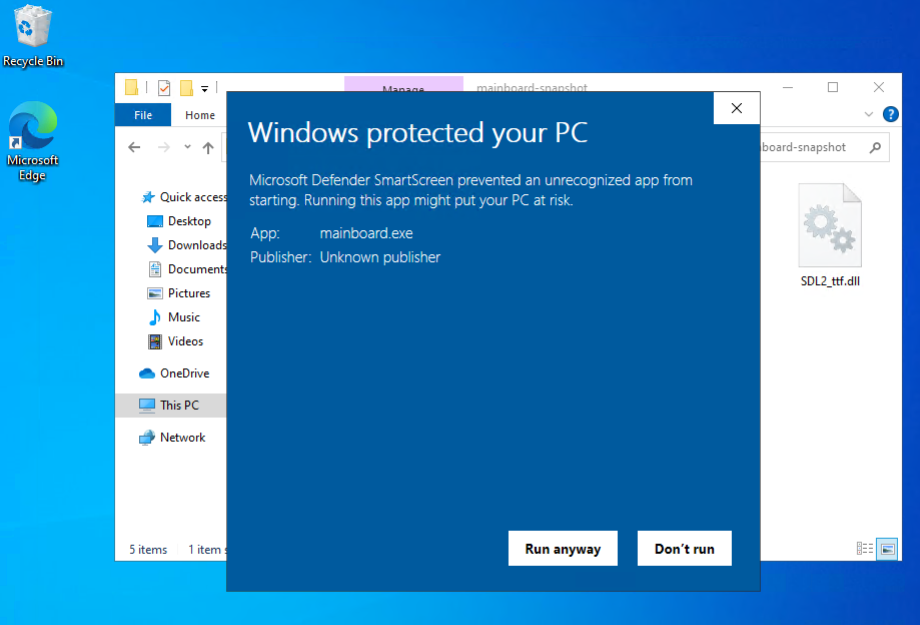
Clicking 'More Info' gives you a way to launch the app. But other than that, I think the Windows version of Mainboard Mayhem is ready. I’ve updated the website to include the Windows archive if anyone’s interested.
devlog screenshots -
Spent some time today on Mainboard Mayhem, trying to finish the Windows build. I’ve actually got Windows version of the game being built for a while now. I just haven’t published them, mainly because I haven’t got the app icon set-up yet.
But this week, Golang Weekly had a link to a blog post by Mahmud Ridwan on how to do so. It looked pretty straightforward, so I thought I’d give it a try.
And yeah, the instructions themselves were easy enough, and I wish I could say if they worked or not. But in order to test it, I need a Windows machine. And I don’t have one, and I wasn’t about to get one just for this.
So I tried setting up Windows in a VM using UTM. I got this far:
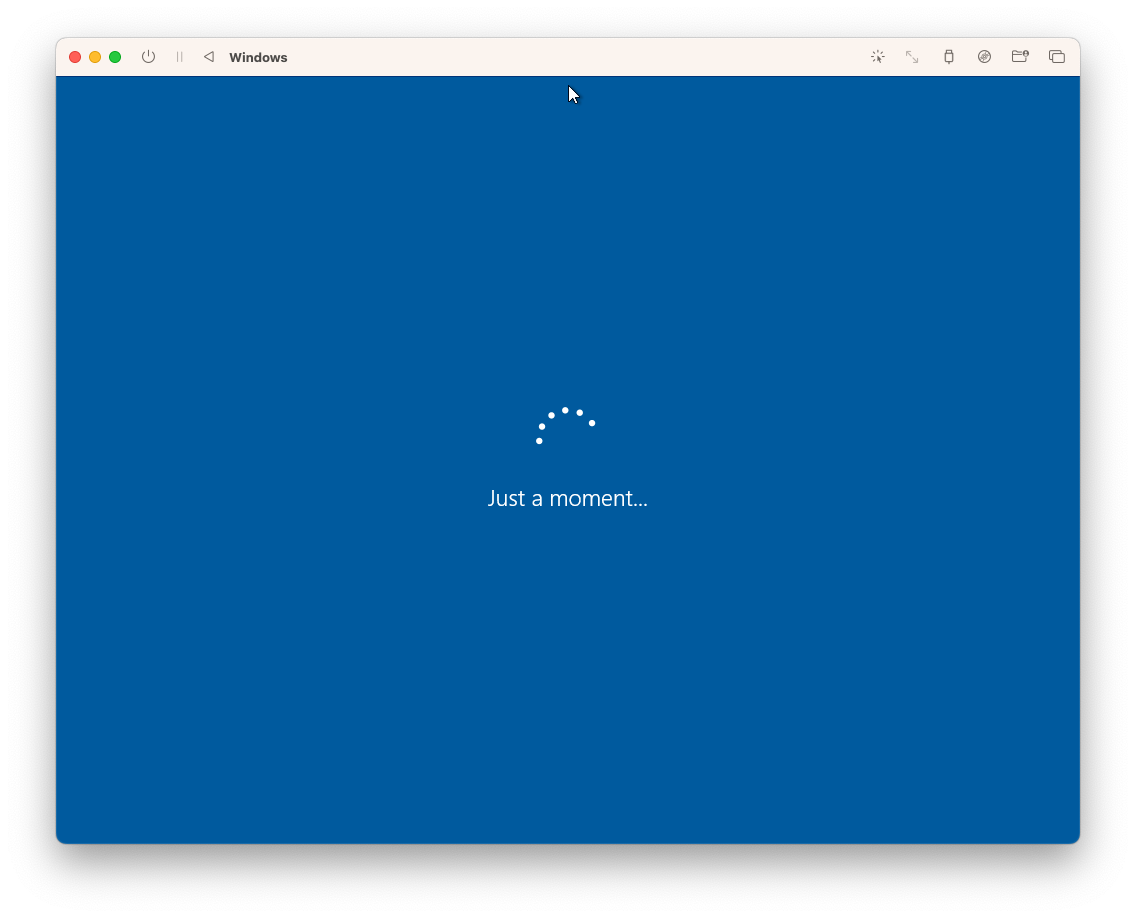
Yeah, this infinite spinner has been staring at me pretty much all day. I got a Windows 10 installer ISO using CrystalFetch, and it seemed to work. But it just doesn’t want to boot up for the first time.
Not actually sure what the problem is. The error message seems to suggest that it’s having trouble connecting to the internet. Might be that? Or maybe the installation didn’t complete properly? Could be anything. 🤷
So no luck getting this tested yet. I’m wondering if it might be easier to forget virtualisation and just launch a Windows instance in the cloud somewhere instead.
devlog screenshots -
Mainboard Mayhem
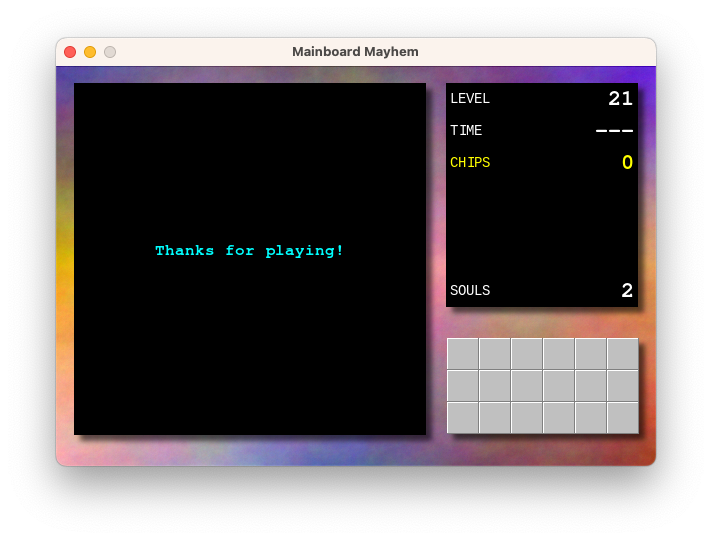
Project update on Mainboard Mayhem, my Chip’s Challenge fan game. I didn’t get it finished in time for the release deadline, which was last weekend. I blame work for that. We’re going through a bit of a crunch at the moment, and there was a need to work on the weekend.
The good news is that there wasn’t much left to do, and after a few more evenings, I’m please to say that it’s done. The game is finish, and ready for release.
Continue reading → -
Project update for Mainboard Madness. Well, today’s the deadline for getting the thing code complete, and what a surprised, it’s not finished.
To be fair, it’s pretty close. All the levels are more or less done, and the beats of the in-game lore have been added. It all just needs tightening up a little. I spent today working on the end-game phase, which mainly involved coding up the credit sequence, and making sure I include credits for those involved in the original game (and who’s artwork I lifted).
The work remaining is to finish one or two game elements, adding a proper app icon, and finishing off the website. I’m wondering whether to add sound, but I feel bad enough taking the artwork from the original game, I rather not take the sound effects as well. That will mean the game will remain silent for the time being, but I can probably live with that for now.
I think we’re still on track for getting this finished by this time next week. Last dash to the finish line, then I can put this 9 year project to rest for a while.
devlog screenshots -
Small project update on my Chips Challenge fan game.
Started working on the final level. I was dreading this a little, thanks to my awful level design skills, but I made a great start to it this morning and it’s actually coming along pretty well. It’s a good opportunity to use all the elements that I didn’t get a chance to use in any of the other puzzles, and it’s also shaping up to be one that has a bit of climax.
I’ve also started working on the website, which is little more than just a landing page. This meant finally coming up with a name. I’ve chosen “Mainboard Mayhem” which is… okay, but it’s one that’s been rattling around in my head for a while, and I really couldn’t use anything close to “Chips Challenge”. I’m already using the tile-set from the original game, I rather not step on any more intellectual property.
Anyway, one more week of development left to go. Still need to setup the app icon, finish all the levels, and maybe add a menu. Then I think we’re code complete.
devlog -
Working on my Chips Challenge “fan game” this morning. Added the notion of “lower thirds,” which will show text at the bottom of the play field. I’m hoping to use it for narrative or way-finding, like here in this hub level:
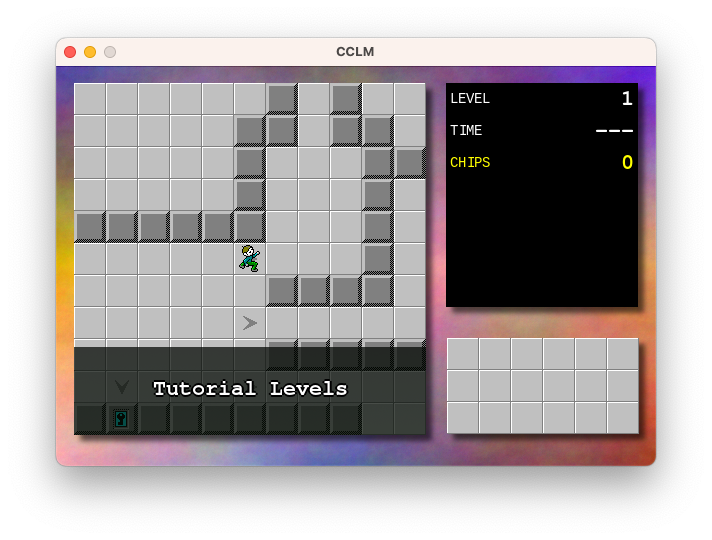
Also working on puzzle design. There’s about 19 or so “real” puzzles but I’m wondering if it’s worth adding a few tutorial ones for those that have never played the original Chip Challenge before. I’ve done about 5 such puzzles and I think I need to add maybe 3 or 4 more to cover everything I’m hoping to demonstrate. I wish I liked puzzle design more than I like tinkering on the engine.
Of course, the big question is why I’m working on this at all. There is, for lack of a better word, a vision for this, in terms of narrative and structure, but this project has been in development on and off for about 9 years or so, and I’m wondering if it’s time to just stop working on it altogether. I really am starting to get sick of it, in a way. And yet, this project has shown remarkable staying power over that time that I feel like if I don’t actually wrap it up, it’ll just continued to be worked on. It feels like the only way to end this project is to finish it, in one way or another.
So I’ll set myself a dead-line: something releasable in two weeks, and actually released a week after that. After that, no more! I’ll work on something else.
devlog screenshots -
Attempting to design an app icon for a Chips Challenge fan game I’m working on. Going for something that looks like the fireball sprite in the original game with a hint more realism and tinted in the colour blue. For reference, here’s the original fireball sprite:
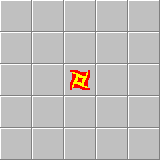
And here’s my attempt:

I started with Stable Diffusion to get the base image:

Prompt: a blue plasma fireball shaped like a throwing star with four points on a white background, pixel art Then imported into Acorn to rotate it, colourise it, and distort it to look a bit closer to the original sprite.
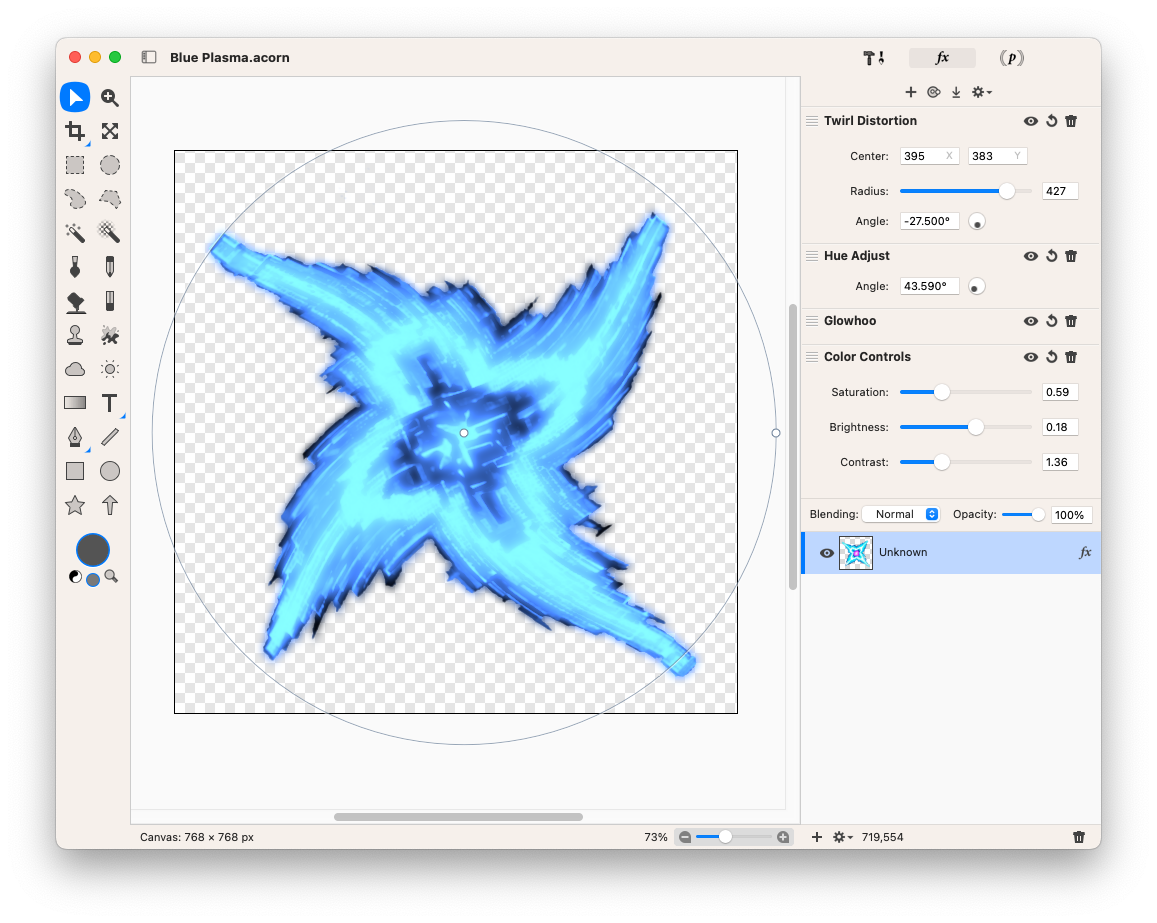
Desaturating the original image got rid of the purple centre, then applying the Glowhoo and Hue Adjust effect recolourised it to the blue I was looking for (I’m not sure what the Glowhoo effect does, but it seems to adjust the colour based on the pixel intensity, so it was good enough for what I wanted). Finally, I added a Twirl Distortion effect to achieve the slight warp in the star.
And yeah, it’s not going to win any design awards, but it’s good enough for now.
Oh, and just for kicks, here was my first attempt of producing the sprite using Affinity Designer.

That’s definitely not going to win any design awards. 😂
devlog screenshots -
Success! Managed to get a Go app built, signed, and notarised all from within a GitHub Action. It even cross-compiles to ARM, which is something considering that it’s using SDL. Here’s the test app being downloaded and launched in a VM (ignore the black window, the interesting part is the title).